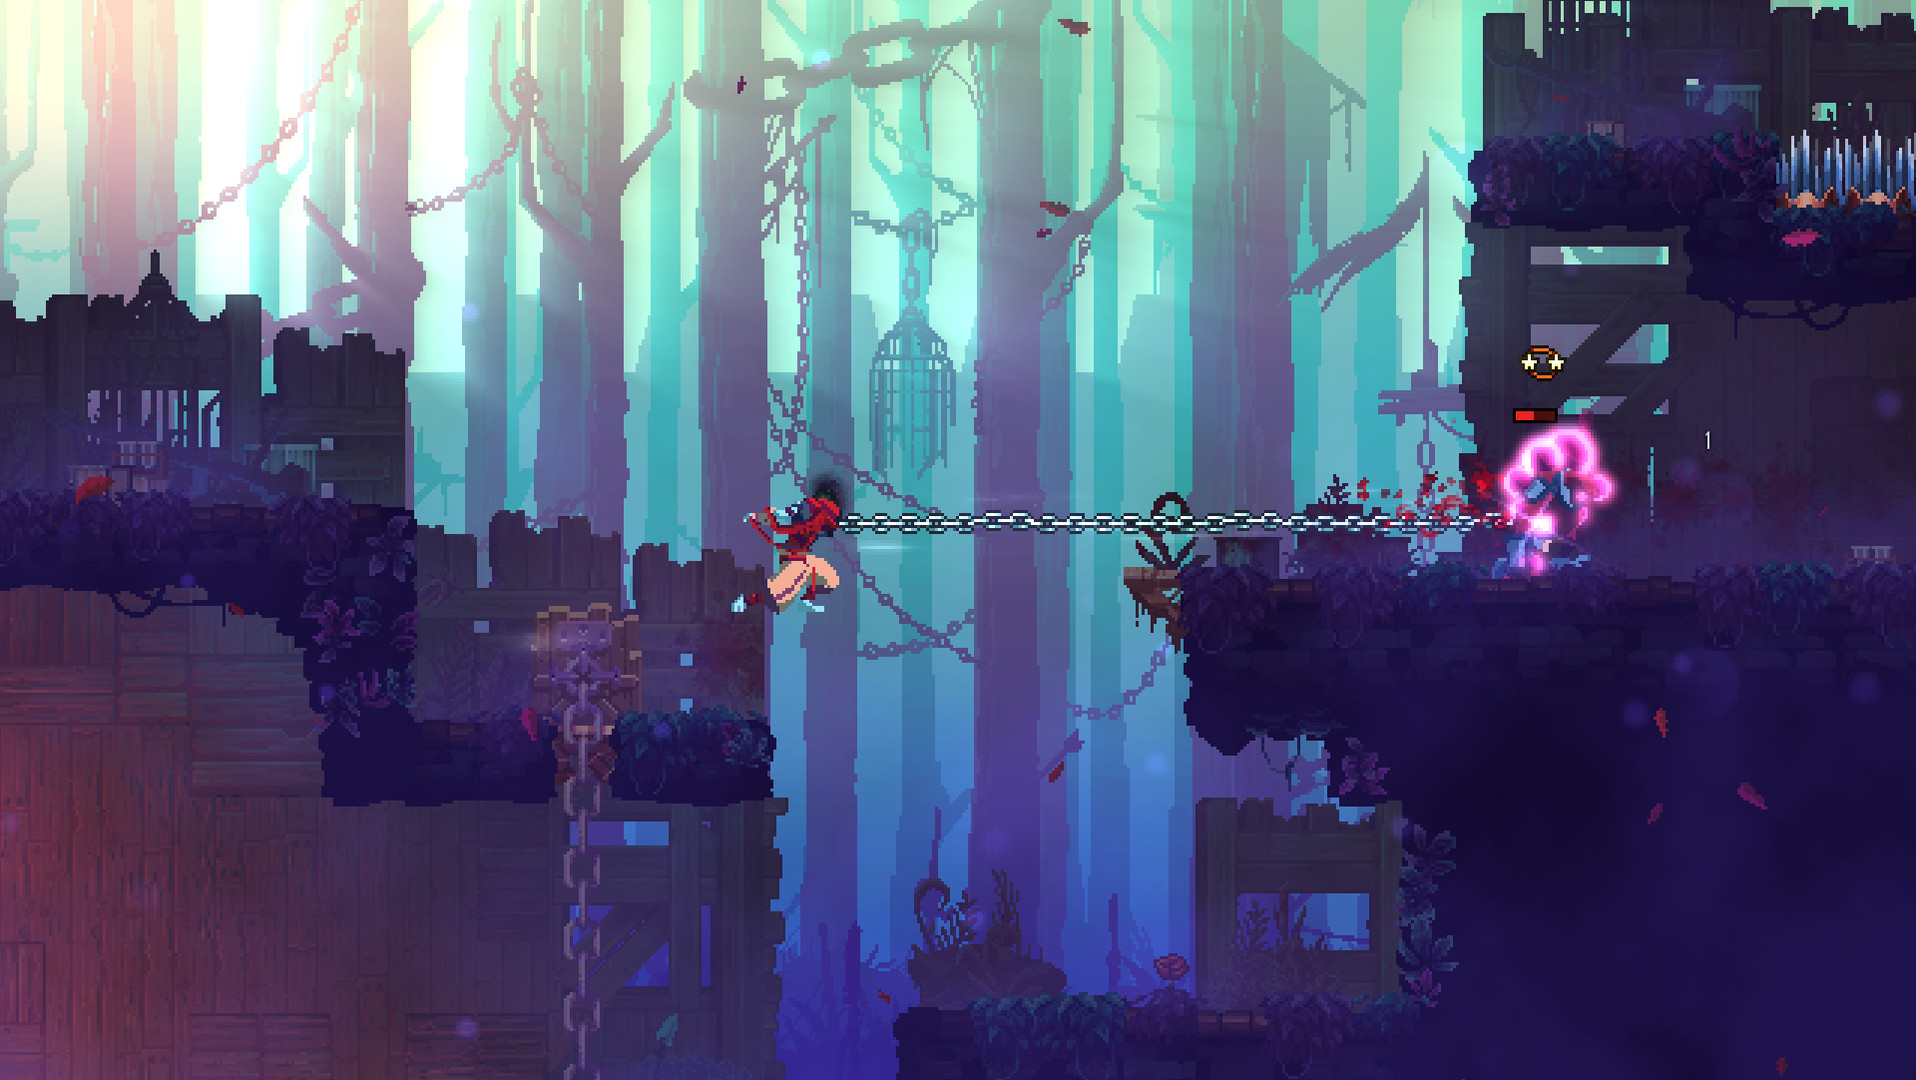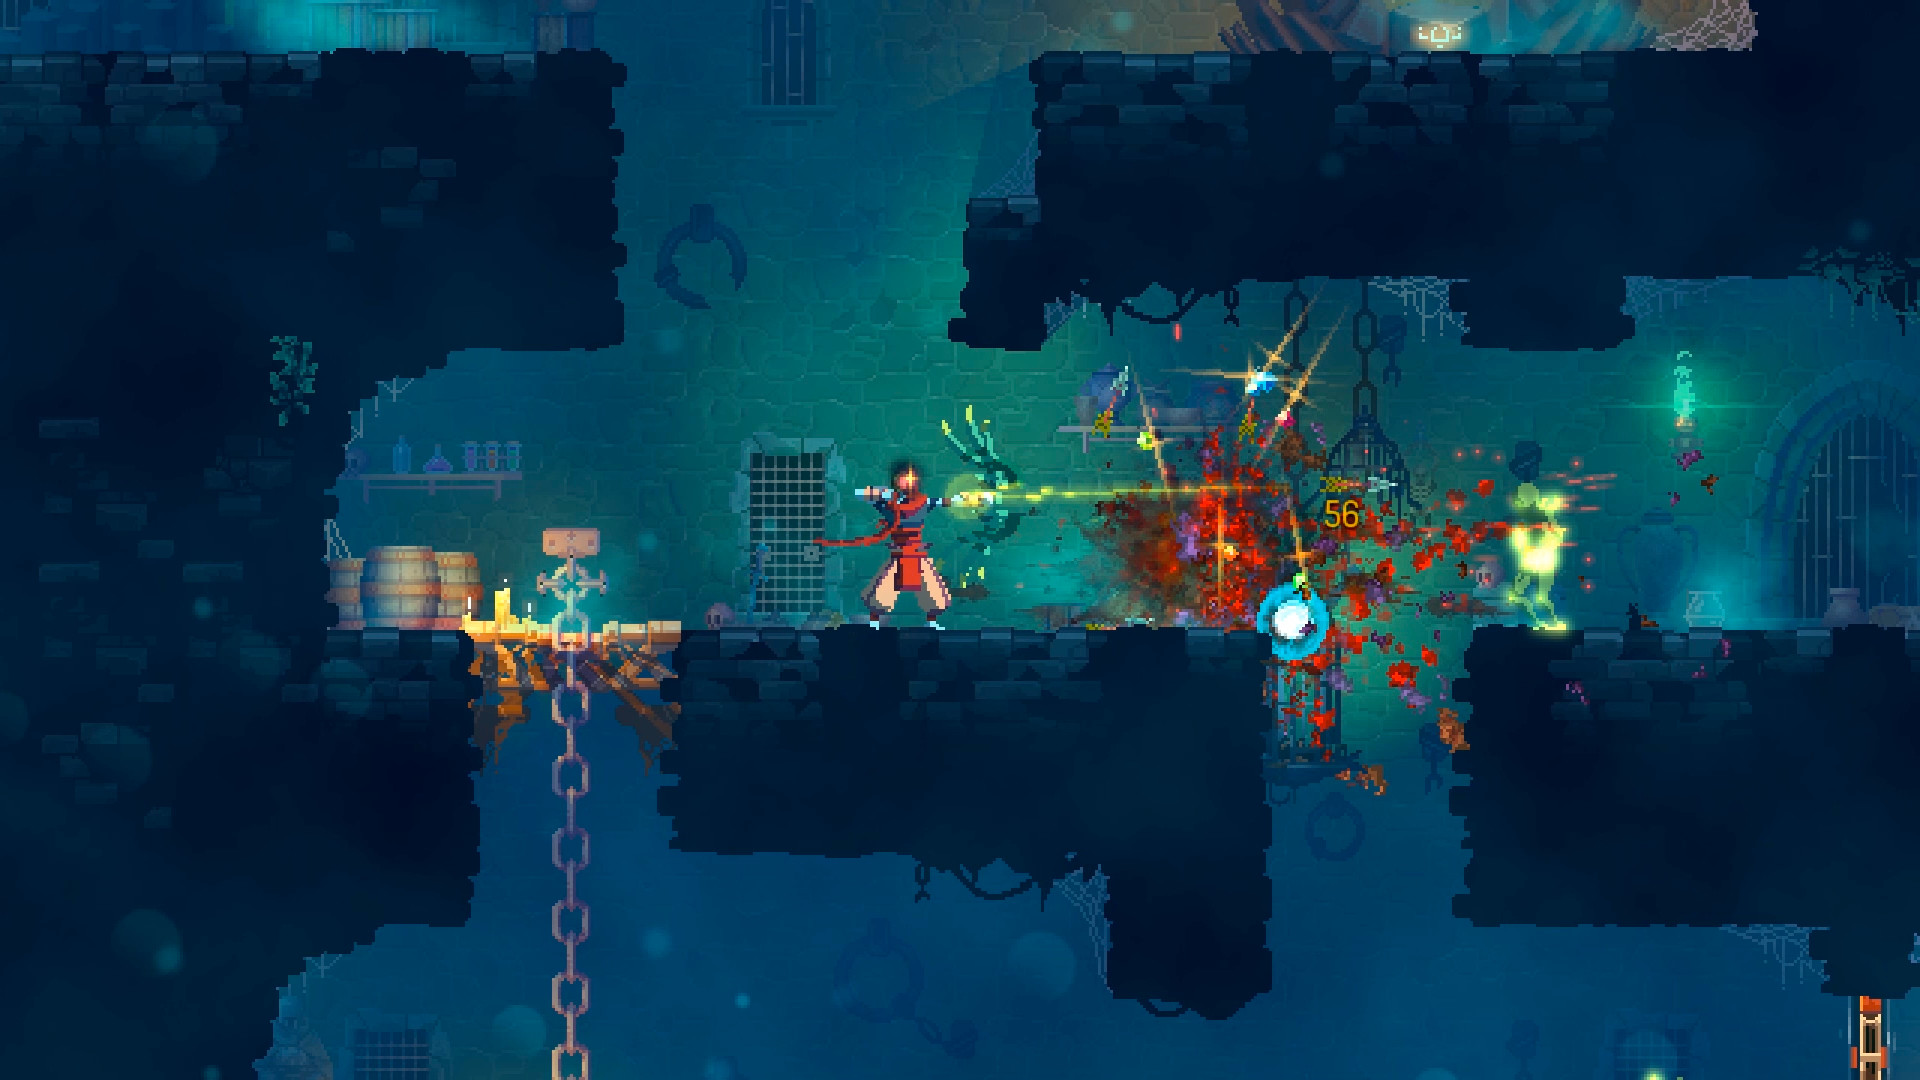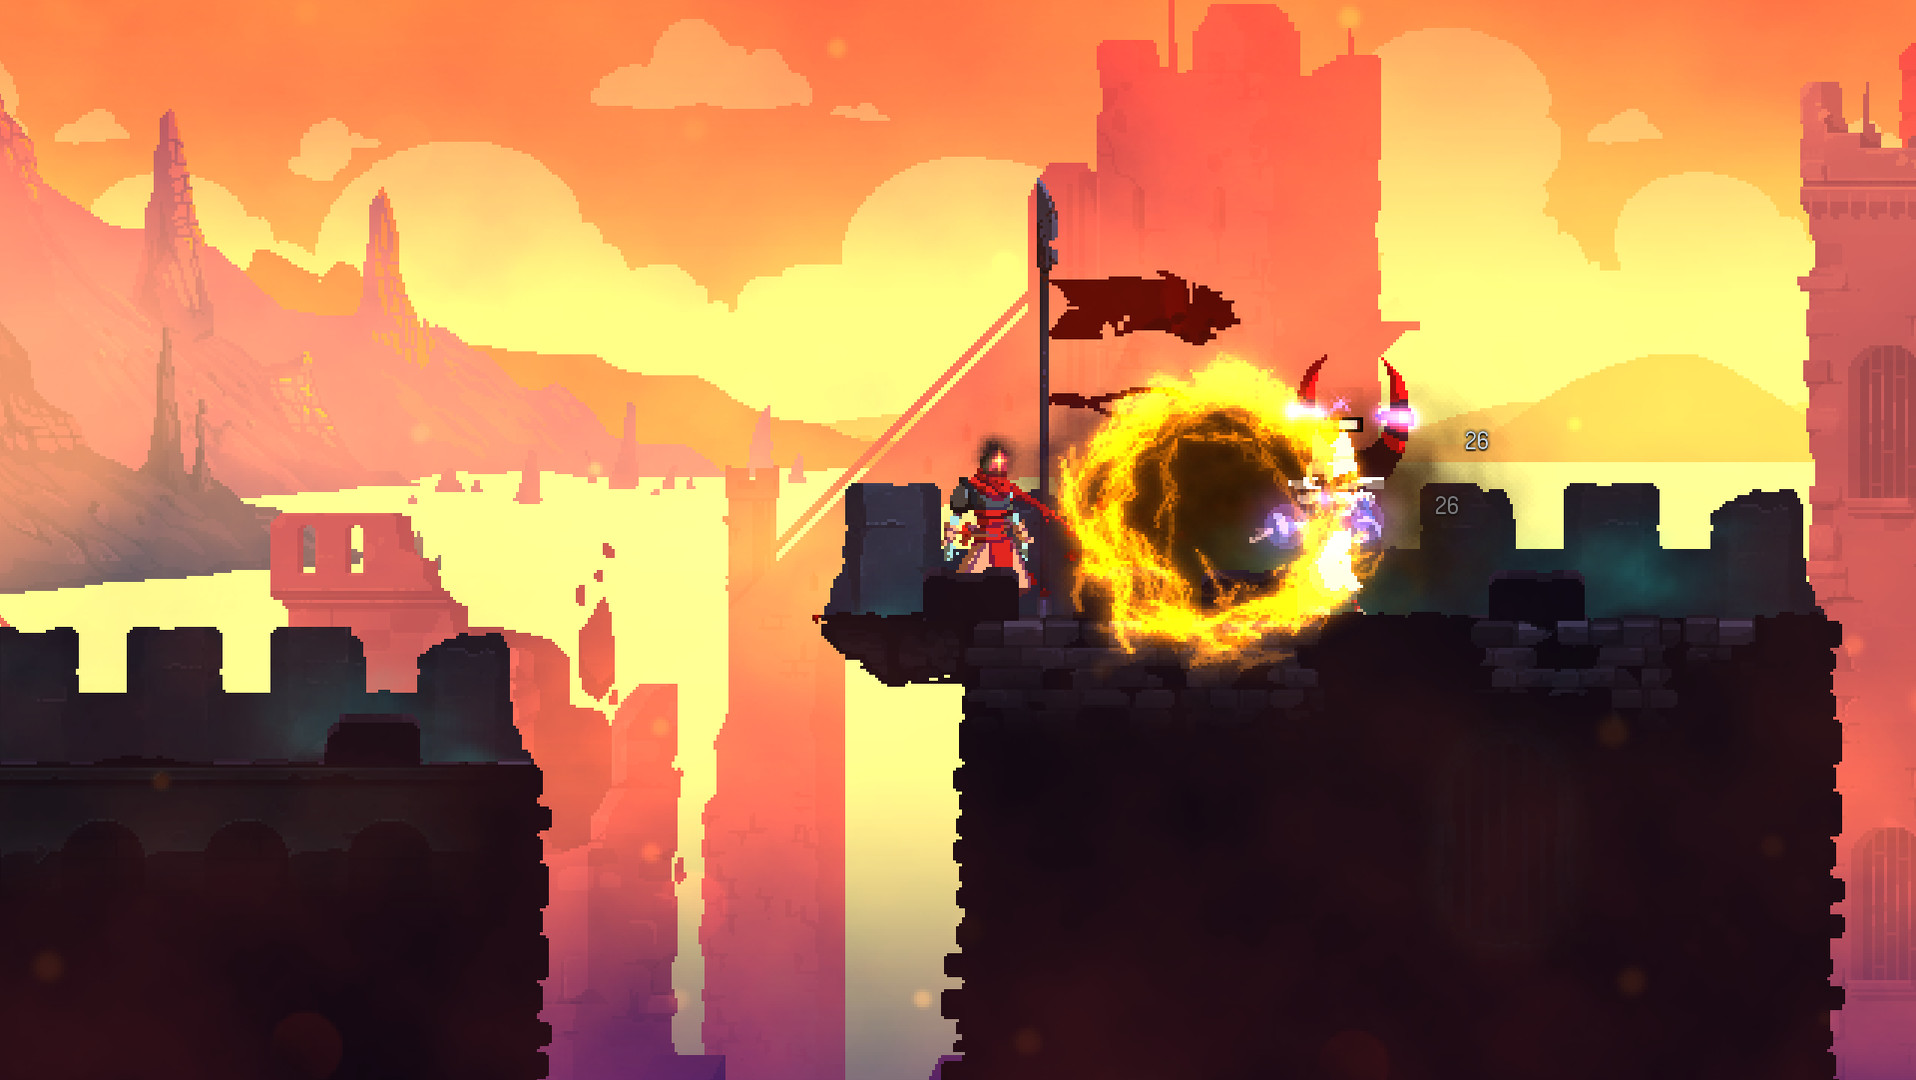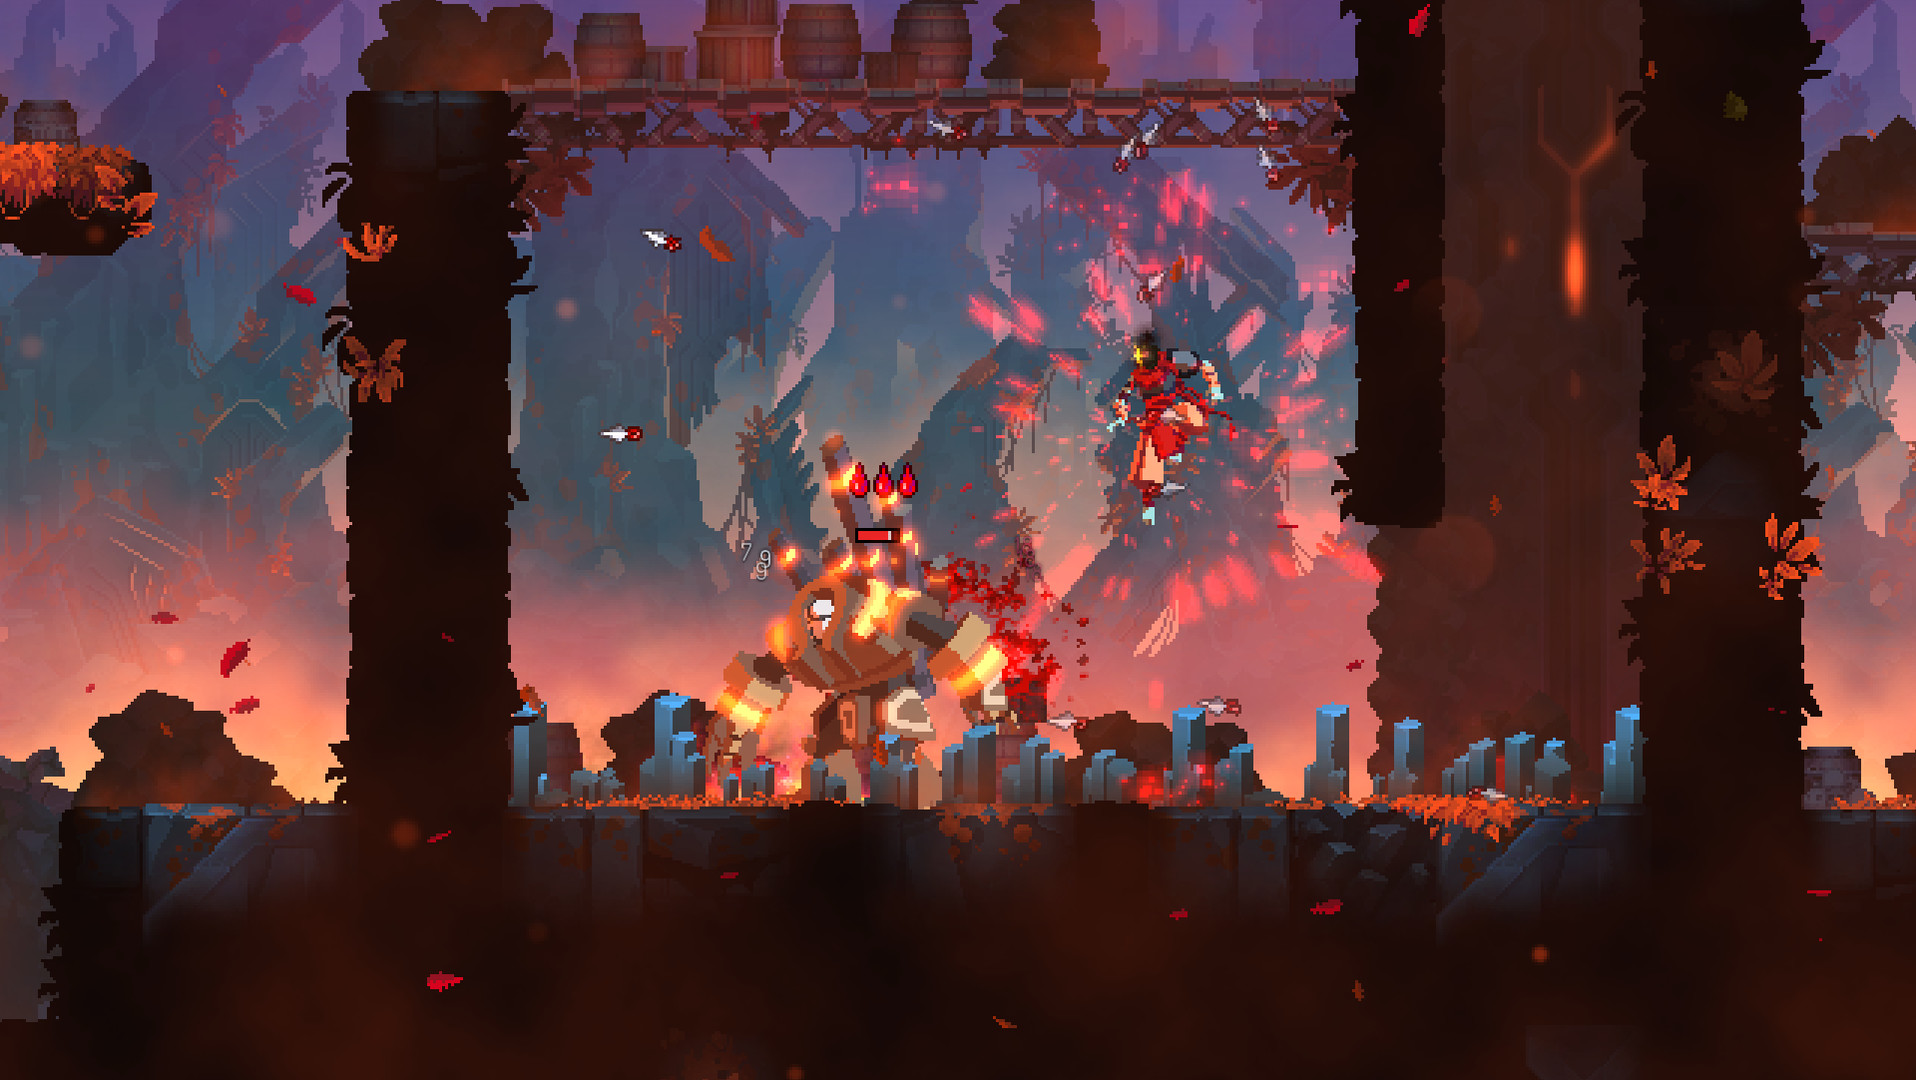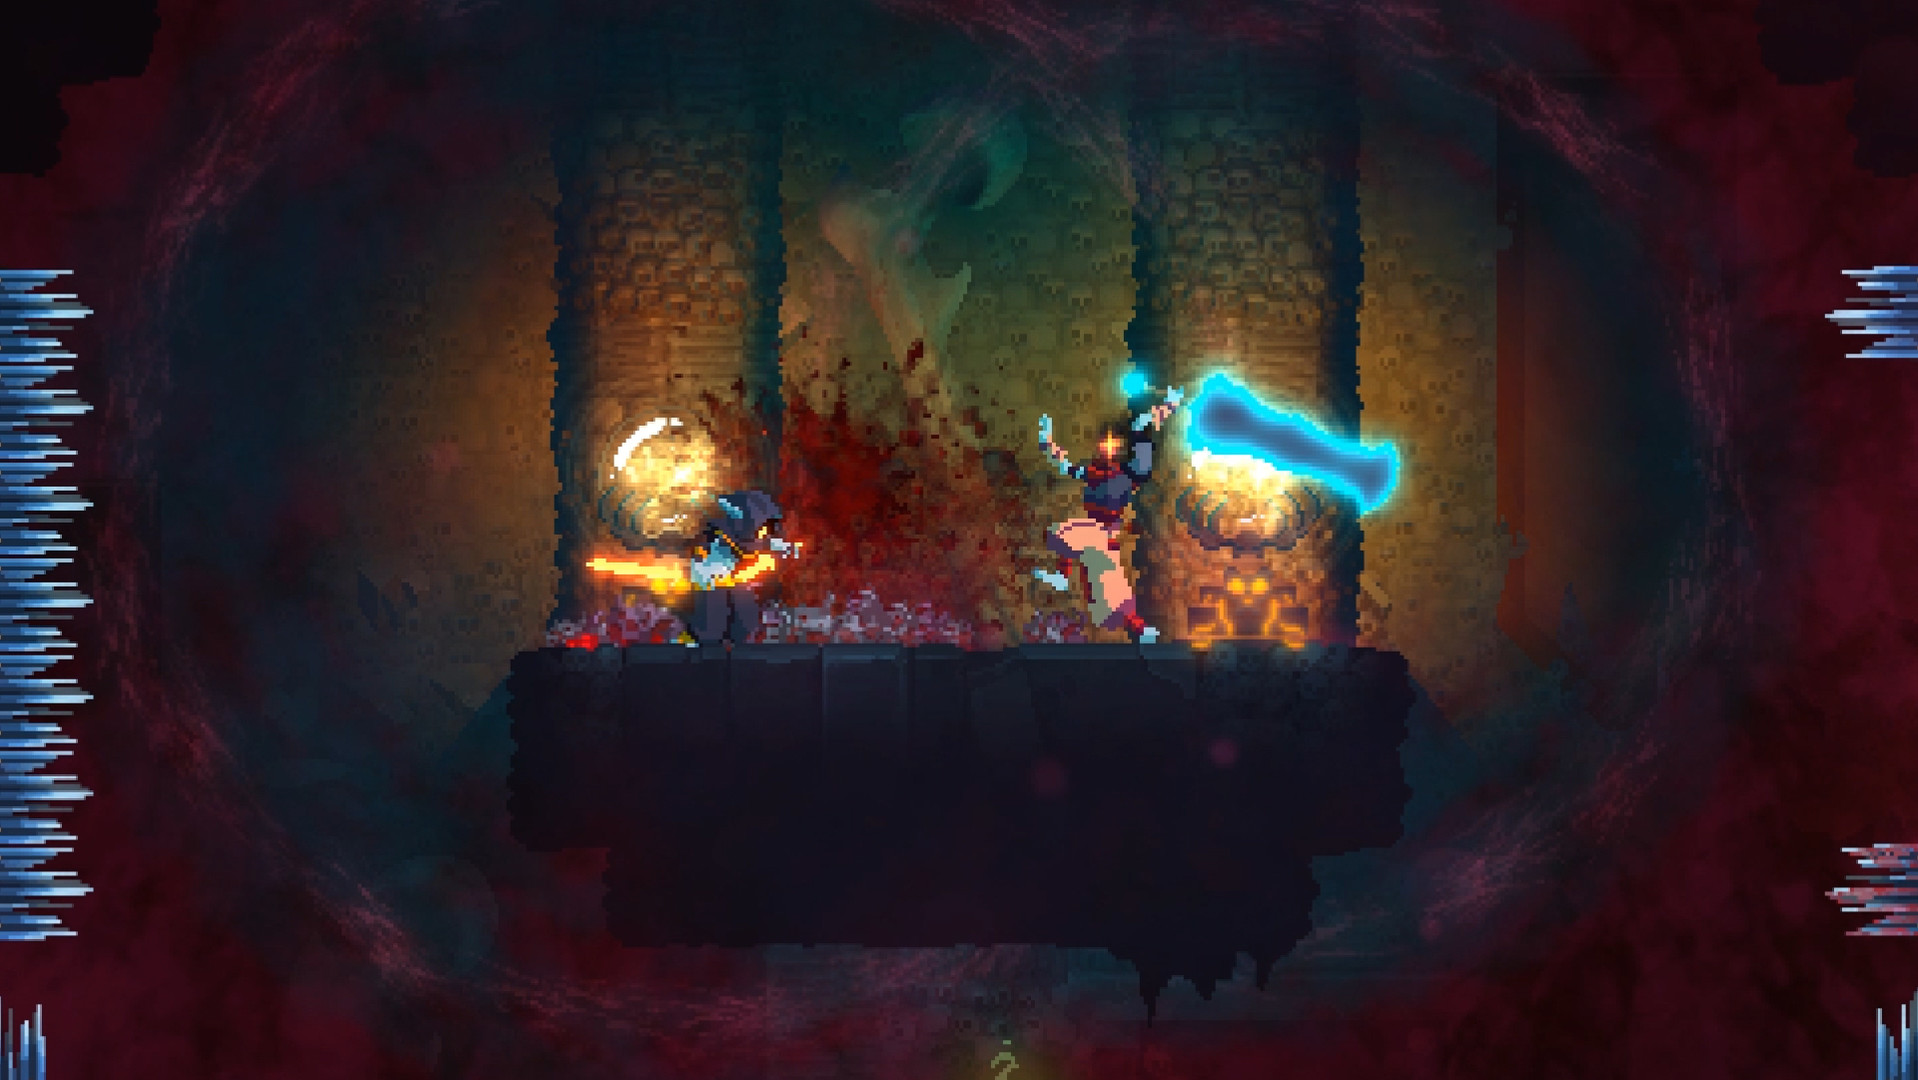
Dead Cells is built around dying, but dying is not automatically progress. Two rules decide how fast you improve: cells you are carrying when you die are lost, and only what you spend at the Collector stays. So the real early-game question is not "how do I survive longer?" but "what do I turn my cells into, and in which order?"
This guide answers that first, with a buying plan that has the actual cell costs, then covers the route, scroll colours, starter weapons, runes and bosses. All names and numbers below were checked against the official Dead Cells wiki. Free DLC and paid DLC add more biomes and bosses; this guide sticks to the base game route that every player has.
The short answer: your first 10 runs
-
1
Run 1–2: buy Health Flask I immediately
It costs 5 cells and nothing else can be unlocked until you own it. Add Gold Reserves I (5) if you can — it keeps up to 500 gold when you die.
-
2
Run 2–4: Recycling I and Health Flask II
Recycling I (25 cells) turns items into gold; Health Flask II (50 cells) gives you a second heal. These two are the biggest early jumps in how far a run gets.
-
3
Every run: kill the Promenade elite for the Vine Rune
A room in a hall under an overpass in the Promenade of the Condemned leads to an elite Undead Archer. Its rune opens the Toxic Sewers and starts the rune chain.
-
4
Run 4–8: work toward Health Flask III and IV
Flask III costs 150 cells and needs 10 items unlocked; Flask IV costs 300 and needs 25. Unlock cheap blueprints on the way so the requirement does not block you.
-
5
After your first boss: start investing in the Legendary Forge
The Blacksmith appears in the passage after a boss biome. His Forge raises the chance of finding higher-quality gear and is the best long-term place for spare cells.
Spend cells at every Collector you reach. Saving 300 cells for one big purchase sounds efficient, but one death erases the lot. Cells cannot be banked between runs except by spending them.
What to buy with cells, in order
These are the Collector's general upgrades that matter in the first hours. The "Running total" column shows roughly how many cells you need across all your runs to reach that point.
| Order | Upgrade | Cells | Requirement | What it does | Running total |
|---|---|---|---|---|---|
| 1 | Health Flask I | 5 | None — must be first | A healing flask that restores 60% of max health | 5 |
| 2 | Gold Reserves I | 5 | Health Flask I | Keeps up to 500 gold when you die | 10 |
| 3 | Recycling I | 25 | Health Flask I | Turns objects into gold (7% of the sale price) | 35 |
| 4 | Health Flask II | 50 | Health Flask I | Flask can be used 2 times | 85 |
| 5 | Gold Reserves II | 35 | Gold Reserves I | Keeps up to 1,000 gold | 120 |
| 6 | Health Flask III | 150 | Flask II + 10 items unlocked | Flask can be used 3 times | 270 |
| 7 | Recycling II | 120 | Recycling I | Recycling pays 15% of the sale price | 390 |
| 8 | Backpack | 100 | 15 items unlocked | Carry a spare weapon (not two-handed weapons or skills) | 490 |
| 9 | Health Flask IV | 300 | Flask III + 25 items unlocked | Flask can be used 4 times — the maximum outside the hardest difficulty | 790 |
Why this order: the flask is the only reliable healing you carry, and each extra charge is roughly another 60% of your health bar per run. Gold Reserves and Recycling are cheap and make every run start and end richer, which means more shop purchases and more gear upgrades at the Blacksmith's Apprentice.
Upgrades to buy later or skip for now
- Random Melee Weapon / Random Starter Bow / Random Starter Shield (65 cells each, 2 items unlocked). Your starting weapon is drawn at random from what you have unlocked. That is only an improvement once your unlock pool contains good weapons. The original starter is not deleted — it is moved to a secret wall tile in the starting room.
- Specialist's Showroom and Restock (150 / 300 cells, 20 items unlocked). Nice, but they do not keep you alive in the Promenade.
- Gold Reserves III–V. Diminishing value early; finish the flask first.
The "items unlocked" requirement
Flask III and IV are gated by how many items you have unlocked in total, not by your progress. Every weapon, skill or mutation blueprint you pay for counts. If you are sitting on 150 cells but only have 8 unlocks, spend some on cheap blueprints first.
There is a trade-off: every unlocked item also joins the random drop pool, so unlocking lots of weapons you will never use makes the ones you want rarer. Early on, the flask is worth more than a clean pool. Later, be pickier.
The Legendary Forge: where spare cells go
After your first boss, the passage contains the Blacksmith. He appears in the passages after boss biomes such as the Black Bridge, the Insufferable Crypt and the Clock Room. His Legendary Forge does not unlock anything new; it raises the share of gear that drops at a higher quality.
| Forge tier | Total cost | Steps | Cap at 0 Boss Stem Cells |
|---|---|---|---|
| + quality items | 500 cells | Every 25 cells adds 5% | 100% |
| ++ quality items | 3,000 cells | Every 150 cells adds 5% (needs + maxed) | 50% |
| S quality items | 10,000 cells | Every 500 cells adds 5% (needs ++ maxed) | Cannot invest until 2 Boss Stem Cells |
Because it is paid in small steps, the Forge is the perfect place to dump leftover cells before a risky fight. Twenty-five cells is always enough to buy something.
The Forge is different from the Blacksmith's Apprentice, who appears in passages once you have beaten a boss for the first time and met them. The Apprentice spends gold, not cells: he upgrades one piece of gear to the next quality (once per item unless you own the Advanced Forge upgrade) and rerolls its modifiers.
Your first route
The base game is a chain of biomes with branching exits. Without runes, only one path is open, and it is the one to learn first.
| Stage | No-rune route | Branches that need a rune |
|---|---|---|
| 1 | Prisoners' Quarters (start) | — |
| 2 | Promenade of the Condemned | Toxic Sewers (Vine Rune) |
| 3 | Ramparts | Ossuary (Teleportation Rune), Ancient Sewers (Ram Rune) |
| First boss | Black Bridge — the Concierge | Insufferable Crypt — Conjunctivius (through the Ancient Sewers) |
| 4 | Stilt Village | Slumbering Sanctuary, Graveyard (Spider Rune) |
| 5 | Clock Tower | Forgotten Sepulcher (Teleportation Rune) |
| Second boss | Clock Room — the Time Keeper | — |
| 6 | High Peak Castle or Derelict Distillery | — |
| Third boss | Throne Room — the Hand of the King | — |
What to do in each early biome:
- Prisoners' Quarters. It contains two Scrolls of Power and a weapons/skills shop. Explore it fully; it is the safest place in the game to collect upgrades. From your third run on, the wiki notes that the Broadsword blueprint can be looted from the Tutorial Knight's corpse by the exit to the Promenade.
- Promenade of the Condemned. One Scroll of Power and two dual scrolls, plus the elite room with the Vine Rune. The passage between the Prisoners' Quarters and the Promenade has a 2-minute timed door with the Assault Shield blueprint — a good target once you can clear the first biome quickly, not before.
- Ramparts. Three Scrolls of Power and two dual scrolls. The Customization Rune (unlocks Custom Mode) is in a room near the entrance. The exit leads to the Black Bridge and the Concierge.
At 0 Boss Stem Cells, every passage between biomes has a Health Fountain that refills all your flask charges and missing health. That means you should drink freely before reaching the passage — a full flask carried into a fountain is wasted.
Scroll colours: pick one and commit
Every weapon and skill has a colour: Brutality (red), Tactics (purple) or Survival (green). Scrolls of Power let you add one point to one of the three stats, and a weapon's damage scales with the stat of its colour.
The numbers that matter, from the official wiki's Stats page:
- Each point in a stat raises the damage of items of that colour by about 15%, compounding. The wiki's rule of thumb is that damage doubles every +5 points.
- Every scroll also adds health, but not equally: Survival gives the most health per point, Tactics the least, and the gain shrinks as a stat gets higher.
- Two-colour items use whichever of their two stats is higher. Colourless items scale off your highest stat.
So a run with 6 points in one colour is far stronger than a run with 2-2-2. The wiki itself advises putting all possible scrolls into one stat.
| Colour | Typical gear (per the wiki) | Strength | Weakness for beginners |
|---|---|---|---|
| Brutality (red) | Quick one-handed melee weapons, offensive skills | Highest pace of damage up close | Least forgiving: you must stand in range and you gain only middling health |
| Tactics (purple) | Bows and other ranged weapons, turrets, quick offensive skills | Kill from a distance, turrets deal damage while you dodge | Lowest health per scroll; bad if enemies reach you |
| Survival (green) | Long-reach melee weapons, two-handed weapons, shields | Most health per scroll; shields let you parry | Slower weapons punish mistimed attacks |
How to choose in practice: look at the first weapon you find in the Prisoners' Quarters that you actually like using, and put your first scroll into its colour. From then on, pick up new weapons and skills in that colour and leave the others. Dual scrolls are always worth taking because one of their two options will be your colour.
Starter weapons
Every run begins with the Rusty Sword equipped, and the Beginner's Bow and Old Wooden Shield lying on the ground in the first room.
| Weapon | Colour | What it does | Use it to learn |
|---|---|---|---|
| Rusty Sword | Brutality | A plain 3-hit combo with no special effect | Basic melee timing |
| Beginner's Bow | Tactics | Ammo comes back after enemies are killed | Dealing with archers and flying enemies from range |
| Old Wooden Shield | Survival | Hold to absorb part of the damage; tap to parry, which blocks all damage and stuns melee attackers for 0.8 seconds | Parrying, which wins boss fights |
All three are meant to be replaced; the wiki notes the starters cannot be found during a run, and that rerolling a starter's modifiers costs 0 gold. For the second slot, the shield is the better teacher. Parrying is the skill that turns boss fights from guesswork into a pattern, and the Concierge's stab and leap can both be parried.
Runes: permanent keys to new biomes
Runes are the only permanent progression that is not bought with cells. Each one drops from an elite enemy or boss in a specific place, once, and stays forever.
| Rune | Where | Dropped by | What it opens |
|---|---|---|---|
| Vine Rune | Promenade of the Condemned — room in a hall under an overpass | Elite Undead Archer | Toxic Sewers (from the Prisoners' Quarters) |
| Customization Rune | Ramparts — room near the entrance | Elite Undead Archer or Zombie | Custom Mode |
| Challenger's Rune | Black Bridge | The Concierge | Daily Run |
| Teleportation Rune | Toxic Sewers — elite room | Elite Slasher | Ossuary (from the Promenade), Forgotten Sepulcher |
| Ram Rune | Ossuary — elite room | Elite Slasher | Ancient Sewers (from the Toxic Sewers) |
| Spider Rune | Slumbering Sanctuary — elite room | Elite Caster | Prison Depths, Corrupted Prison, Graveyard, and Slumbering Sanctuary from the Black Bridge |
| Explorer's Rune | Forgotten Sepulcher — after two elite rooms near the end | Two Dark Trackers | Reveals the map once you have explored most of a biome |
| Homunculus Rune | Throne Room | The Hand of the King | Lets you launch your head to grab items and latch onto enemies |
The practical order is a chain: Vine → Teleportation → Ram. The Vine Rune gets you into the Toxic Sewers, where the Teleportation Rune is; that opens the Ossuary, where the Ram Rune is; that opens the Ancient Sewers, which lead to the Insufferable Crypt. The Spider Rune comes after, from the Slumbering Sanctuary.
Rune hunting is a good use of a run that is going badly. If your build is weak, detour into a rune biome and kill the elite before you die. The rune is yours forever even if the run ends a room later.
Boss order basics
The base game has three boss tiers, and you choose which first boss to face by which route you take.
- First boss: the Concierge (Black Bridge) or Conjunctivius (Insufferable Crypt). The Concierge is the one on the no-rune route. His attacks include a stab with a long wind-up, a ground slam that sends fire both ways (jump it), a leap, and a damaging red aura. He drops the Challenger's Rune on the first kill. Conjunctivius needs the Ram Rune route.
- Second boss: the Time Keeper (Clock Room), reached through the Clock Tower or the Forgotten Sepulcher.
- Third boss: the Hand of the King (Throne Room), reached through High Peak Castle or the Derelict Distillery. Beating him for the first time gives you the first Boss Stem Cell, which unlocks the next difficulty level, and the Homunculus Rune.
DLC adds alternative bosses at these tiers. For detailed patterns, see the Boss Guide.
Mutations in your first runs
In each passage you can pick a mutation, a passive bonus. You can hold one more per biome cleared, up to three. Resetting them costs gold: 1,000 the first time, doubling each time up to 8,000. Most mutations scale with a colour, so take mutations in the same colour as your scrolls. New mutations are unlocked like weapons: find the blueprint, then pay cells at the Collector.
Common beginner mistakes
- Dying with cells in your pocket. If a boss door is next, spend everything at the Collector first. A 25-cell Forge step is better than losing 25 cells.
- Spreading scrolls across three colours. It feels balanced, but it leaves every weapon weak. Pick one colour.
- Unlocking everything you find. Required for the flask's item count, but every extra unlock dilutes the drop pool. Past 25 unlocks, unlock with intent.
- Saving flasks for "later" at 0 Boss Stem Cells. Every passage refills you. Unused charges at the end of a biome are wasted healing.
- Skipping elite rooms that hold runes. Runes are permanent. A run that gets you the Vine Rune is never a wasted run.
- Chasing timed doors too early. Timed doors (2 minutes in the first passage, 8 minutes in the Ramparts, 15 minutes at the Black Bridge) reward speed, but rushing past scrolls leaves you too weak for the boss.
- Ignoring the Blacksmith's Apprentice. Upgrading your main weapon one quality level for gold is often a bigger damage jump than a new random weapon.
If the game is simply too hard right now, Assist Mode exists (added in the 2.9 Breaking Barriers update). It lets you reduce enemy damage and health, slow traps, ease parry timing and continue after death. The wiki states it does not disable achievements or Boss Stem Cell progress.
Where to go next
Once you can reach the Concierge reliably, the Build Guide covers how to build around one colour, and the Weapons and Mutations Tier List ranks what to unlock. After your first Hand of the King kill, the Progression Guide explains what each Boss Stem Cell changes. For an overall verdict on the game, read the Honest Review.
★Honest Take: progress is a choice, not a reward for dying
Dead Cells is often described as a game where "every death makes you stronger", and that is only half true. Deaths themselves give you nothing; the cells you spend and the runes you pick up do. Players who stall for hours are usually the ones carrying cells into fights, spreading scrolls three ways, or never stepping into an elite room.
The good news is that the early meta-progression is short. Roughly 800 cells takes you from nothing to a four-charge flask, Recycling II and a backpack, and after that improvement comes almost entirely from your own play. The downside is that the game explains none of this clearly; the Collector's menu does not tell you what is worth buying. That is a real flaw for a game this hard, and it is why this list exists.