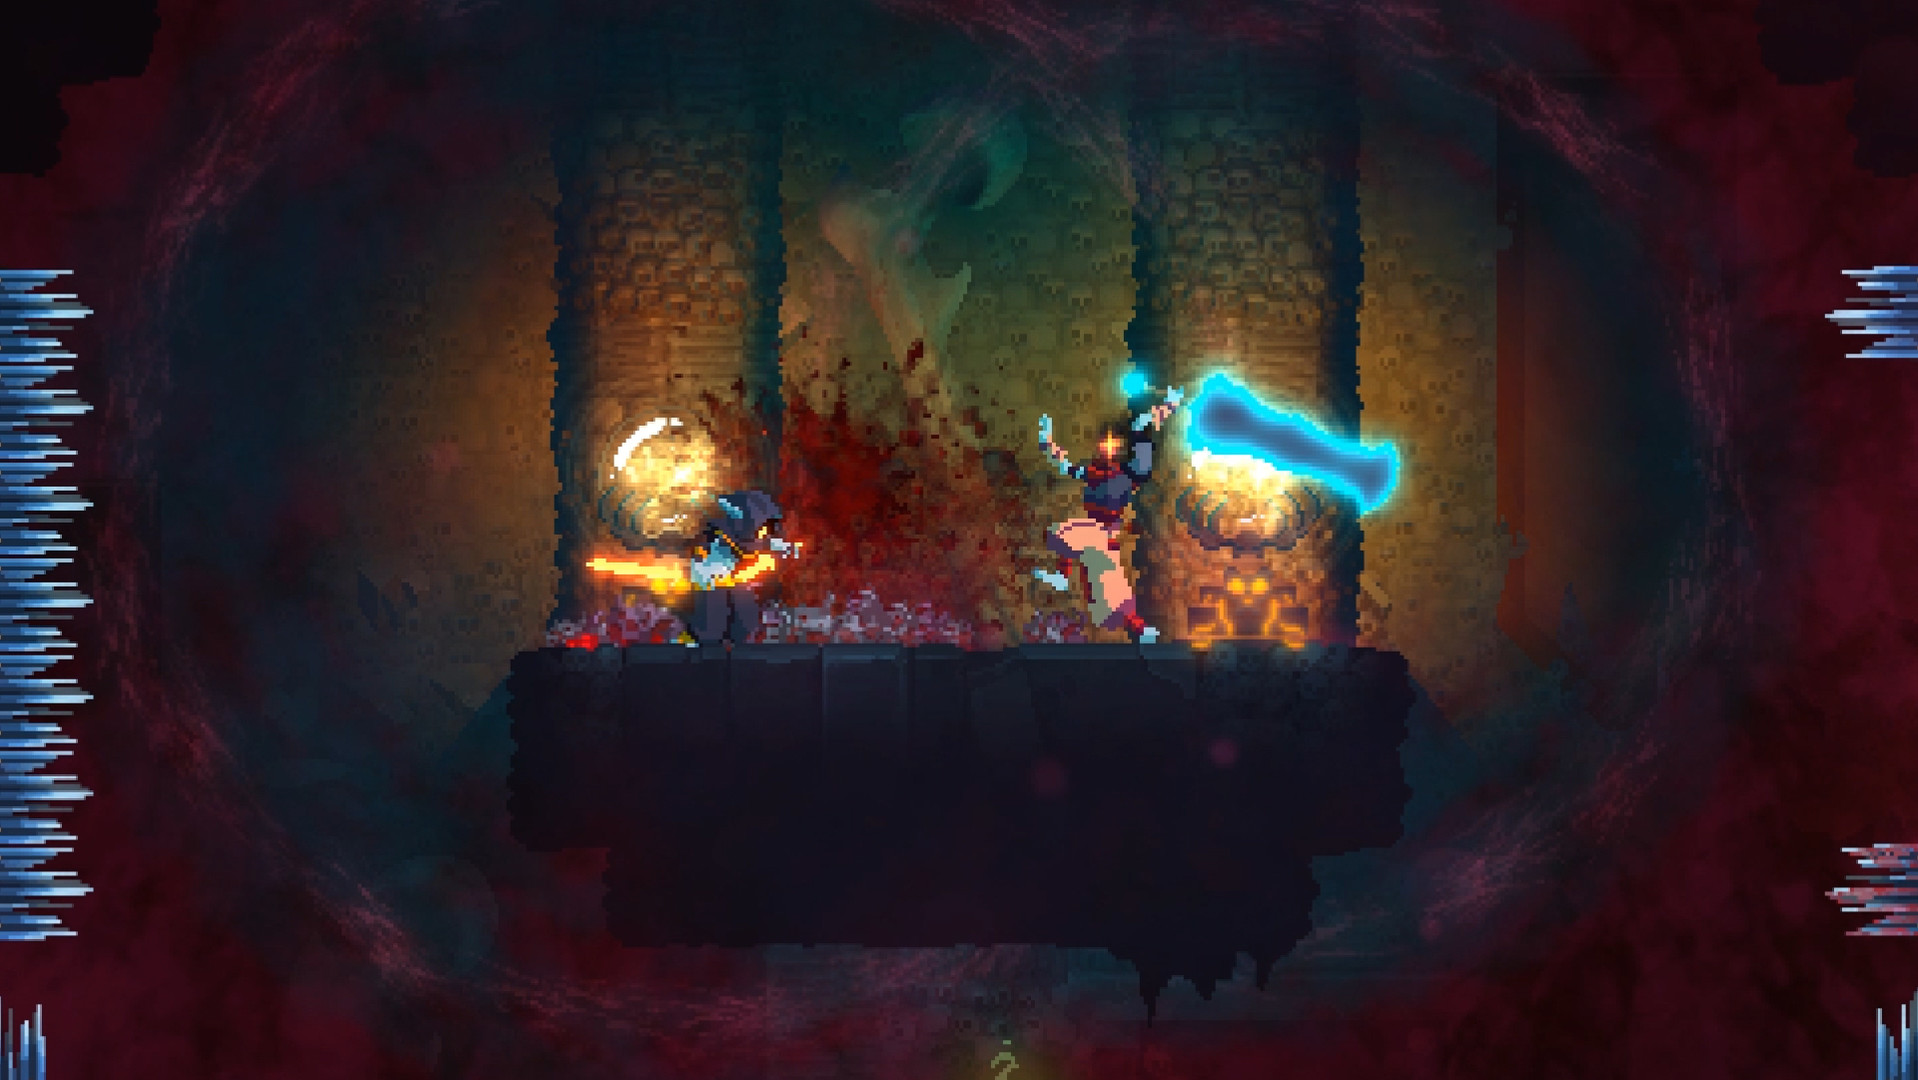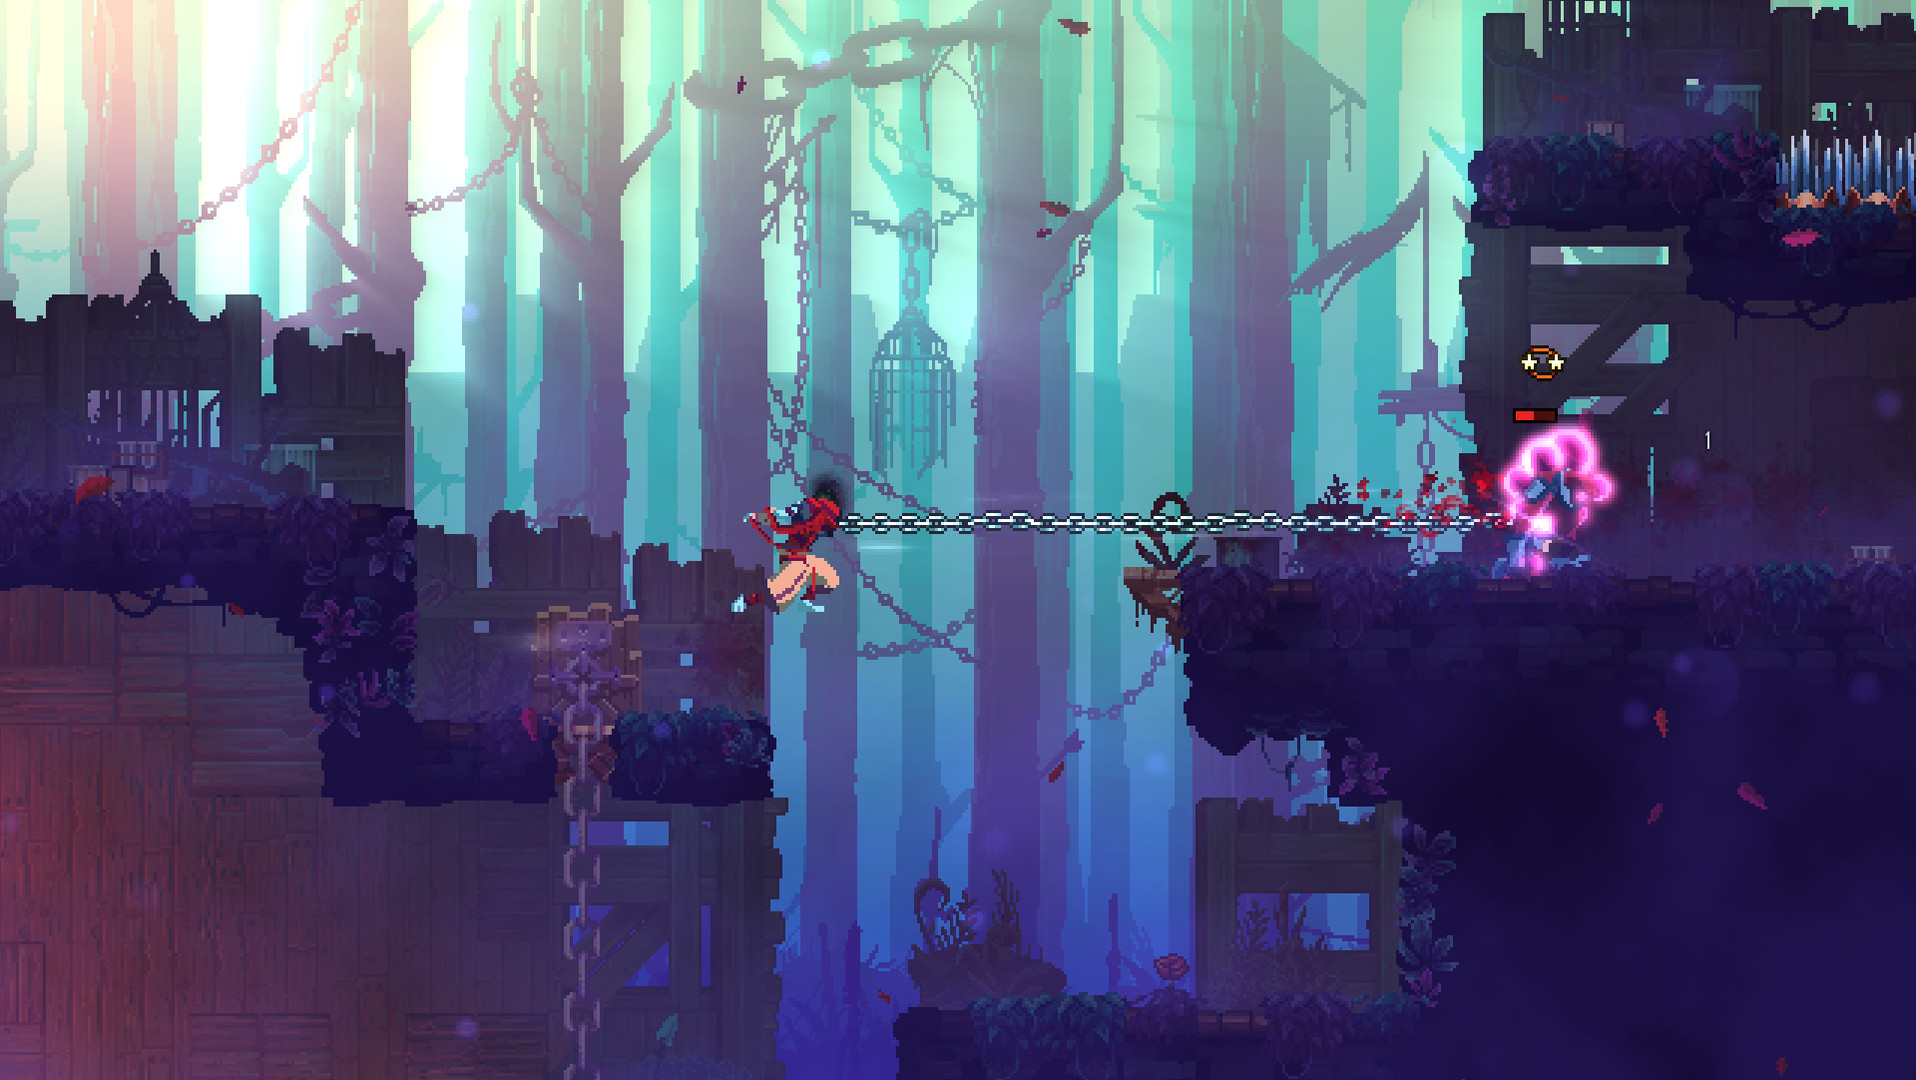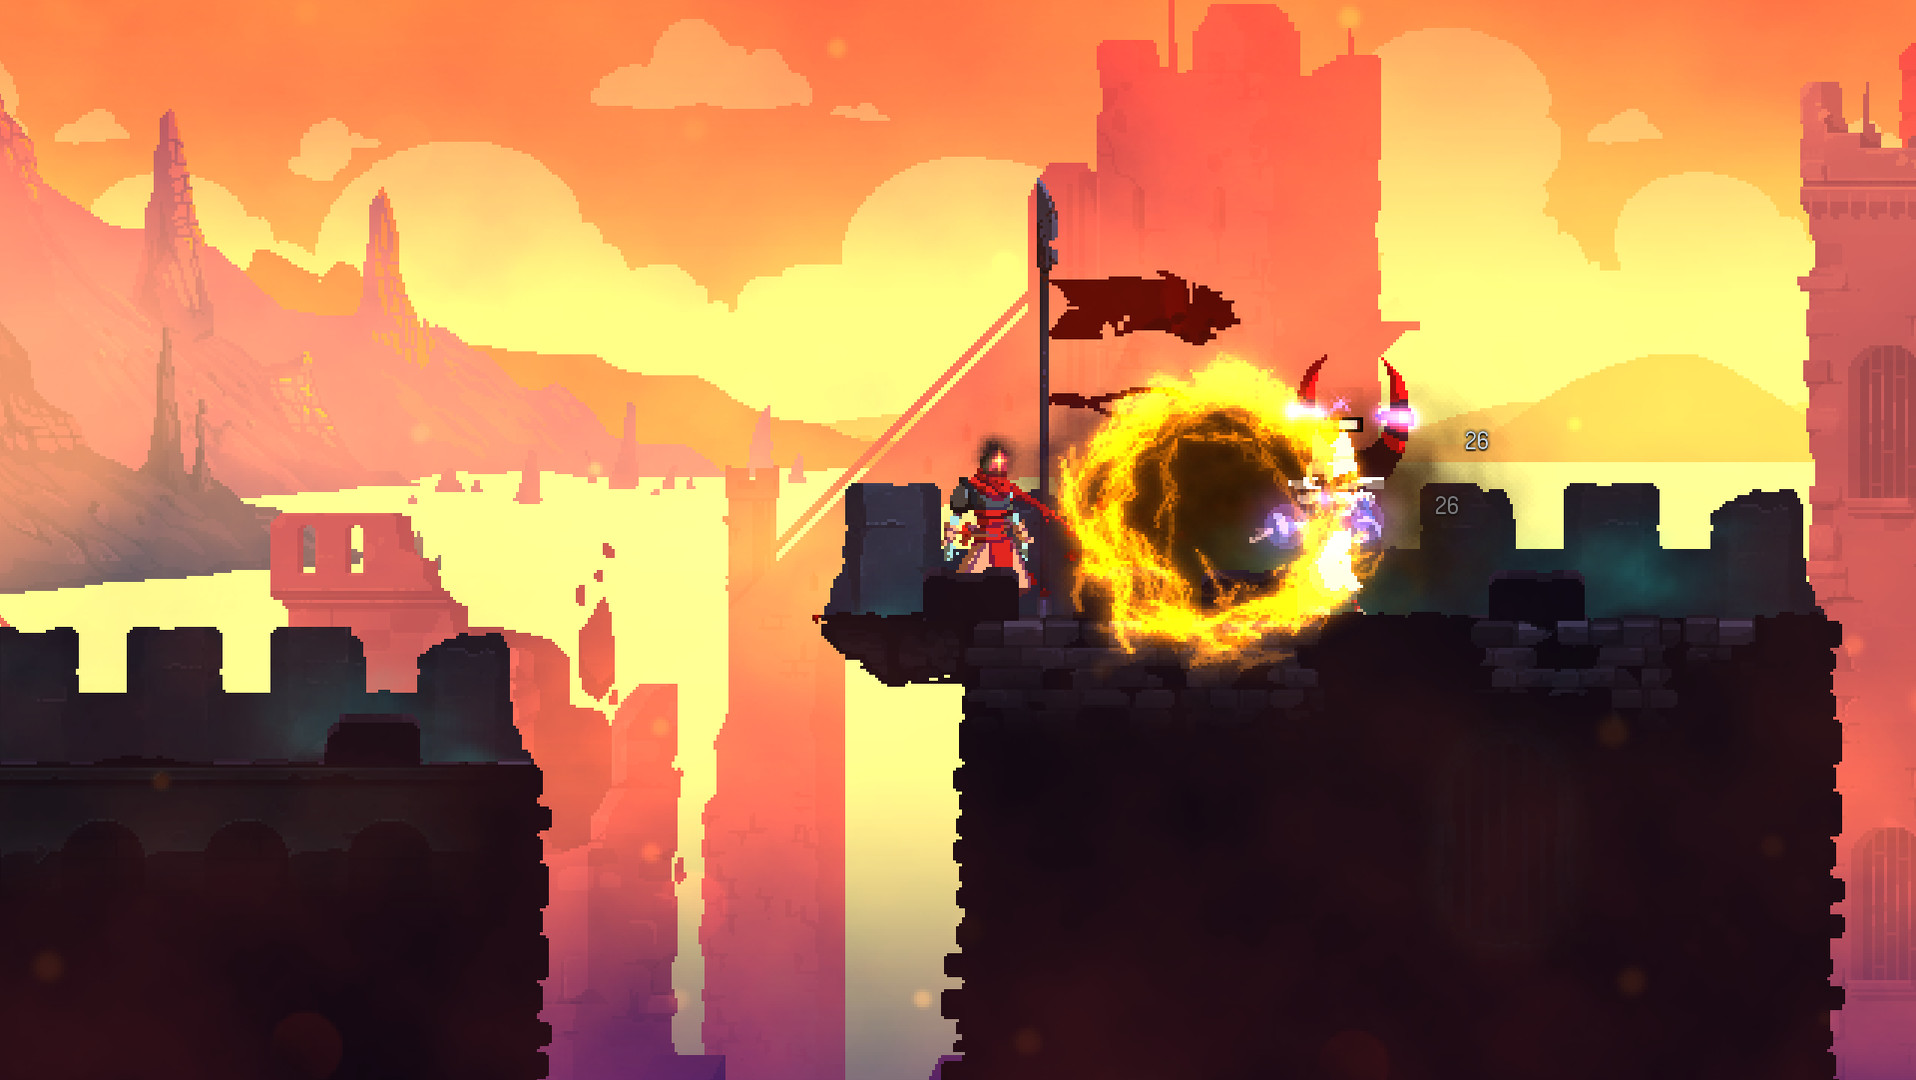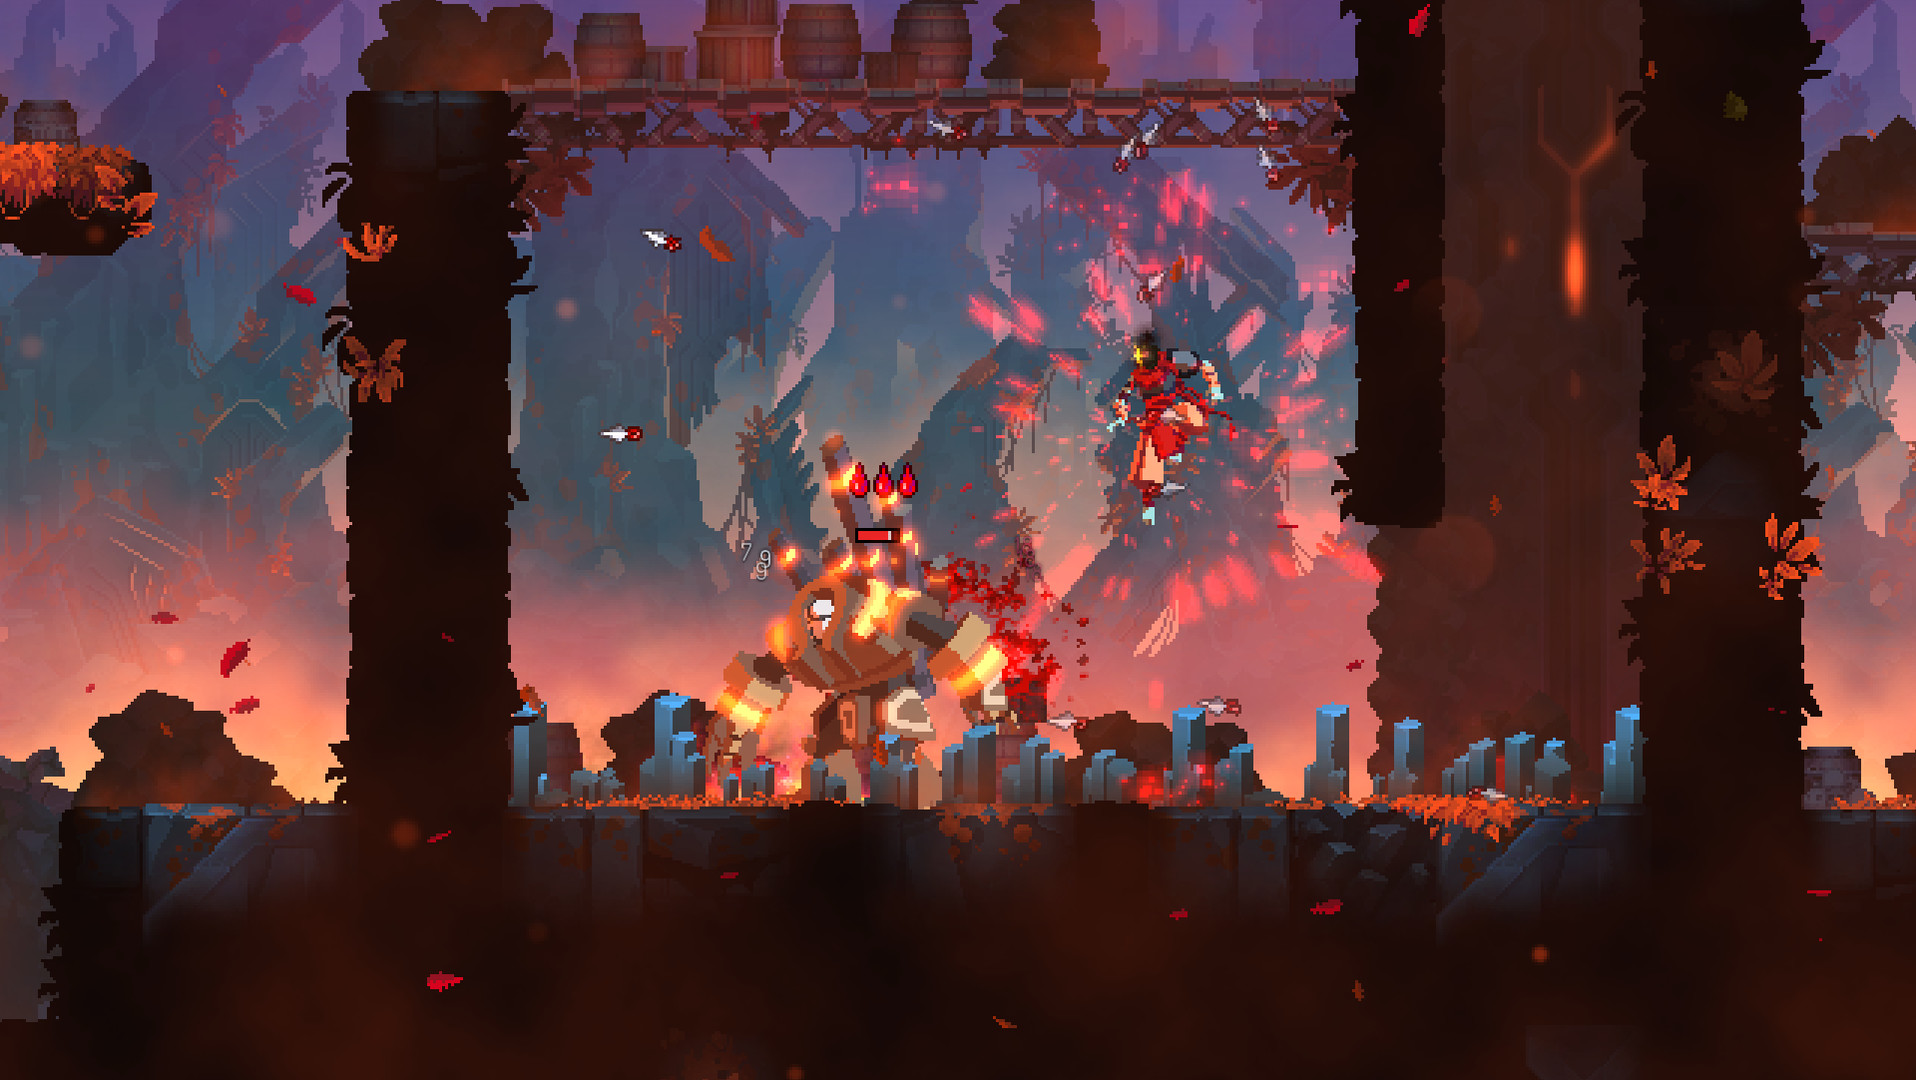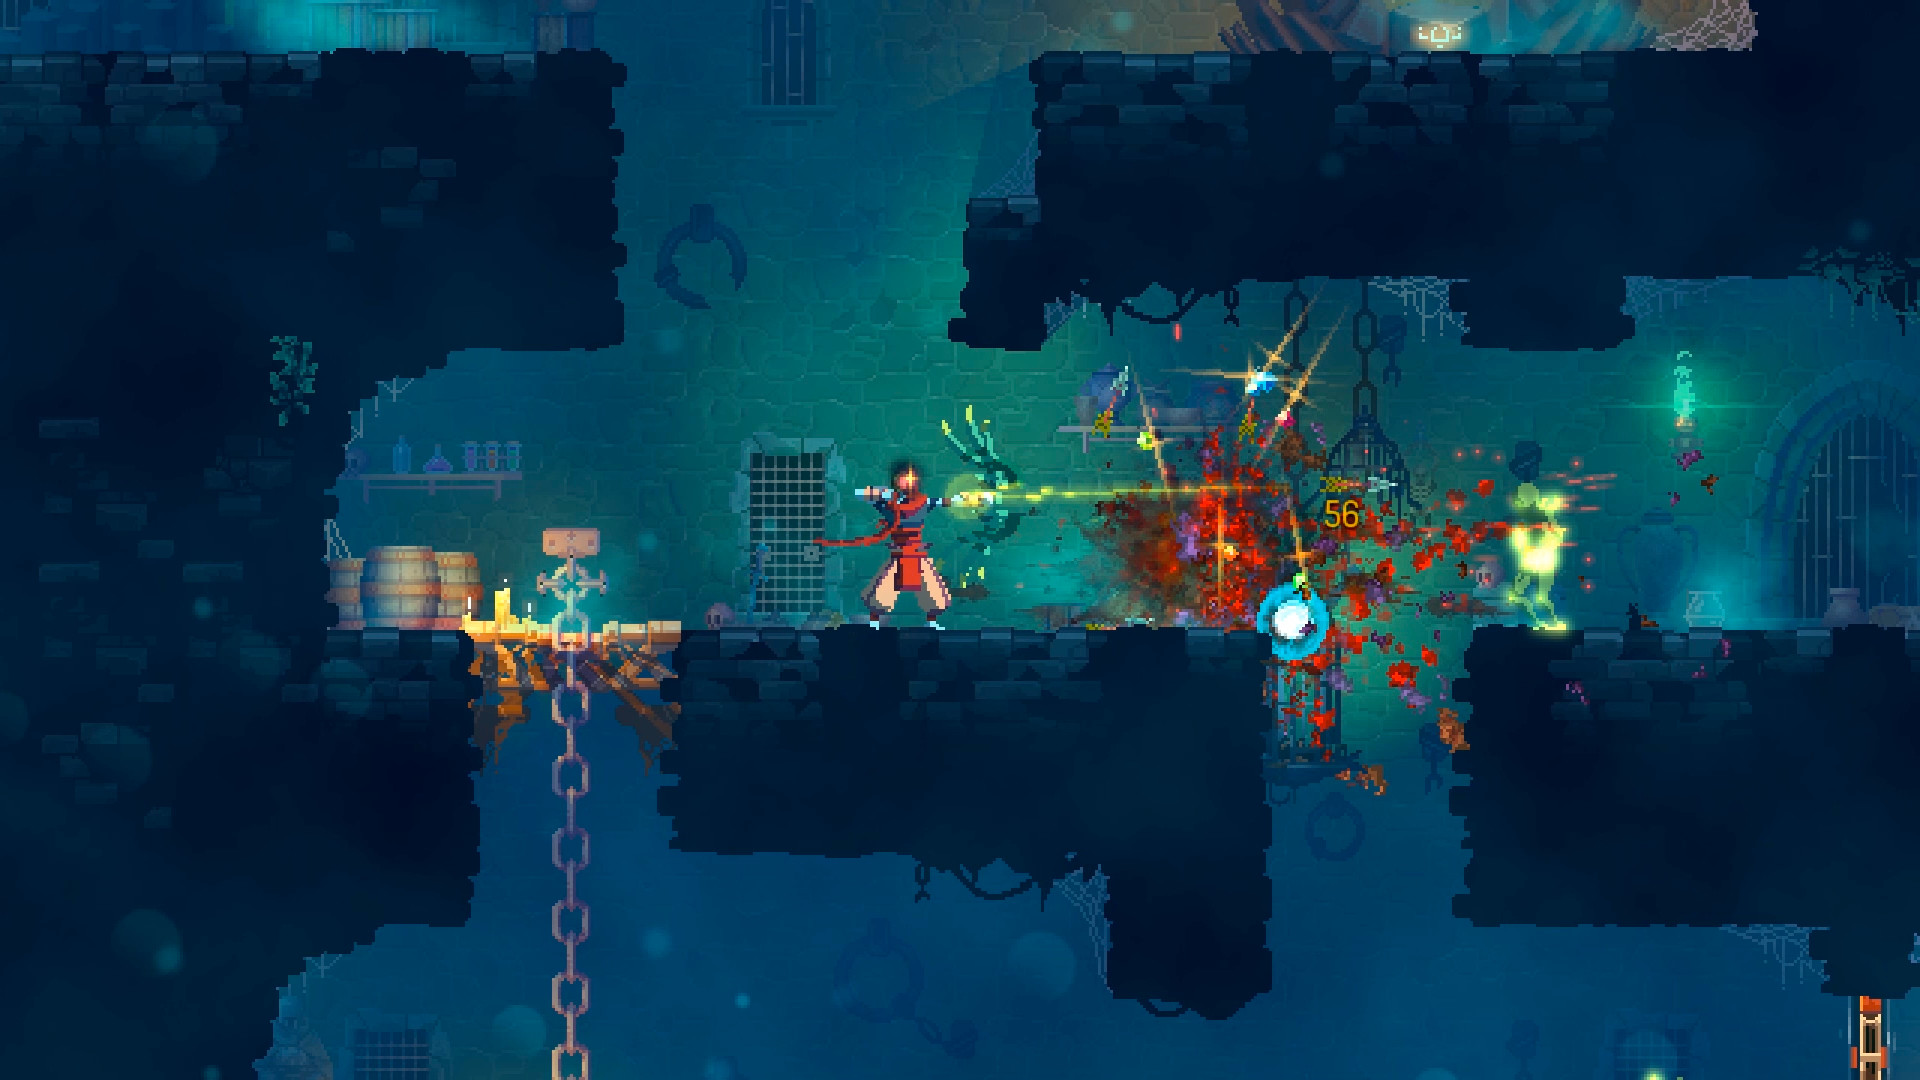
Dead Cells bosses are not damage checks you pass by grinding; they are pattern fights with readable wind-ups, and most of their attacks can be answered in more than one way. The two things that decide a boss fight are knowing which attacks you can parry and which you must jump, block or leave, and arriving with gear that fits the boss.
This guide starts with the boss order and what each kill unlocks, then goes through each base-game boss in the order you meet them. Attack names, phase thresholds and drops were checked against the official Dead Cells wiki (deadcells.wiki.gg). Boss health and damage values are not given here, because they scale with difficulty and the wiki does not list them consistently.
Boss order at a glance
| Tier | Boss | Biome | How you get there | First-kill highlights |
|---|---|---|---|---|
| 1st boss | The Concierge | Black Bridge | Default route through the Ramparts | Challenger's Rune (Daily Run), Flint blueprint |
| 1st boss | Conjunctivius | Insufferable Crypt | Through the Ancient Sewers (Ram Rune) | Tentacle blueprint |
| 2nd boss | The Time Keeper | Clock Room | Through the Clock Tower or the Forgotten Sepulcher | Lightspeed blueprint |
| 2nd boss | The Giant (Rise of the Giant) | Guardian's Haven | Through the Cavern, after your first Hand of the King kill | Giantkiller blueprint; the 5th Boss Stem Cell at 4 BSC |
| 3rd boss | The Hand of the King | Throne Room | Through High Peak Castle or the Derelict Distillery | 1st Boss Stem Cell, Homunculus Rune, Symmetrical Lance and Telluric Shock blueprints |
| True final boss | The Collector (Rise of the Giant) | Observatory | 5 BSC door in the Throne Room, then the Astrolab | Collector's Syringe blueprint and the true ending |
The paid DLC adds alternatives: Mama Tick (The Bad Seed) and Death (Return to Castlevania) at the first tier, the Scarecrow (Fatal Falls) at the second, the Servants (The Queen and the Sea) and Dracula (Return to Castlevania) at the third, and the Queen and Dracula's Final Form at a fourth tier. They are covered briefly at the end.
What every boss kill gives you
- Gold and random items on every kill, plus scroll fragments from 3 BSC upward.
- A random Legendary item if you beat the boss without getting hit.
- Blueprints on specific kill counts. Most bosses drop one blueprint on the first kill and more on later kills (3rd, 4th, 5th and so on). Deliver them to the Collector in the next passage; a blueprint you die with is lost.
- Outfits. Most bosses give one outfit for a flawless kill and one for a kill on each BSC difficulty.
Bosses resist control effects: per the wiki, negative effects on bosses expire 20% faster than normal, and several bosses shorten freezes and stuns further when you repeat them. Freeze and root still buy openings, but plan on damage-over-time (bleed, poison, fire) for steady pressure.
Parry chart: what to do with each attack
This is the table to read before your next attempt. "Parry" means a well-timed shield press; blocking means holding the shield; rolling means the dodge roll.
| Boss | Parry it | Jump it | Block only / leave the area |
|---|---|---|---|
| Concierge | Stab, Leap | Fire Strike (fire on the ground both ways) | Aura of Laceration (leave or roll through), Shout (outrange it) |
| Conjunctivius | Body Slam, Magic Bolts, Rain of Bolts, tentacle strikes and sweeps | — | Aura of Laceration (cannot be blocked or parried; leave the area) |
| Time Keeper | Slashes, shurikens (reflected back), hook, Lightspeed | Lightspeed can also be jumped | Sword Rain (block or roll; cannot be parried) |
| Hand of the King | Lance Sweep, bombs, Swipe & Strike, Jab, banner explosions | Telluric Shock (or block it) | Super Telluric Shock (block, or stand on the ice platform) |
| Giant | Punch (stops it), Energy Salvo (reflects orbs) | Fire waves from Slam Fist | Eye Lasers (move to the centre) |
The pattern is consistent: ground fire and shockwaves are jumped or blocked, auras are left, and almost everything else can be parried. That is why a shield is the most valuable boss tool in the game.
First boss: the Concierge (Black Bridge)
The Concierge is the boss on the no-rune route: Prisoners' Quarters → Promenade of the Condemned → Ramparts → Black Bridge. For most players he is the first real test.
Attacks and tells
- Stab. A forward thrust with a long wind-up. Block, parry or roll.
- Fire Strike. He slams his hand into the ground and fire runs along the floor in both directions. You can only avoid it by jumping. It often comes right before the Leap.
- Leap. He crouches and jumps at you. Block, parry or roll it, or crouch under him at the peak of the leap.
- Shout. At certain health thresholds he shouts to change phase. He is invulnerable during it and stuns you if you are close. It cannot be dodged or parried, only outranged — back off when he stops attacking and starts to rear up.
- Aura of Laceration. A short charge with red particles, then a damaging red aura around him. You can roll through it, but the timing is tight; walking away is safer.
How to beat him. Stay at medium range, bait the Stab, parry or roll it and hit him twice. Whenever he slams the ground, jump. When the red aura comes up, step out and use a bow or a skill. The wiki's standout trick is a Wolf Trap with the Heart of Ice mutation, which it says can leave him "almost permanently rooted".
What he drops. The Challenger's Rune (unlocks the Daily Run) and Flint on the first kill; Heavy Crossbow on the 3rd kill, Impaler on the 4th, and the Melee, Ammo and Alienation mutations on the 5th to 7th.
First boss alternative: Conjunctivius (Insufferable Crypt)
Conjunctivius is reached through the Ancient Sewers, which need the Ram Rune. It is a giant chained eye in a vertical arena with platforms, and it is harder to read than the Concierge because tentacles attack while the eye fires projectiles.
Attacks and tells
- Body Slam. A red line shows the direction, then the eye rams along it. Move off the line, or block, parry or roll.
- Magic Bolts. A green burst of bolts in a sun pattern. Block, parry or roll. After each tentacle phase she fires extra bursts.
- Aura of Laceration. A red circle flashes around her. It cannot be blocked or parried; the only answer is to leave the area.
- Rain of Bolts. The platforms retract and she floats to the top of the room. Stand at the edges of the arena and roll into the walls.
- Summon Tentacles. At health thresholds she breaks a shackle. She becomes immune behind a force field and tentacles emerge: 3 in the first tentacle phase, one more in each later phase. Each time a tentacle dies, the rest speed up and change colour (blue, purple, then crimson).
How to beat her. Treat the tentacle phases as their own fight: freeze, traps and damage over time kill tentacles quickly, and the wiki notes that tentacles have fronts and backs, so backstab-type weapons work on them but not on the eye. Bait the Body Slam near a wall, drop a Wolf Trap and roll aside. The Spider Rune lets you cling to walls to escape tentacles. Recommended picks on the wiki include a shield (the Bloodthirsty Shield adds area bleed on parry) and Valmont's Whip.
What she drops. The Tentacle blueprint on the first kill; Cursed Sword on the 3rd, the Gastronomy and Recovery mutations on the 4th and 5th, and Advanced Forge I on the 6th kill.
Concierge or Conjunctivius? For a first win, the Concierge: his moves are fewer and his arena is flat. Take the Conjunctivius route when you want the Ancient Sewers' path and her later drops, especially Advanced Forge I.
Second boss: the Time Keeper (Clock Room)
The Time Keeper waits in the Clock Room at the end of the Clock Tower or the Forgotten Sepulcher. She is fast, teleports, and is the boss where many players first stop progressing. She is also the boss where a shield pays off most.
Phase 1 (0 BSC only). Sword Slash, Shuriken (1–3 thrown stars), and Hook and Slash: she throws a hook that roots you, then slashes, though the root ends before the slash lands. Parrying the hook prevents the slash. She also Teleports, always followed by a long-range attack. At about 70% health a Shuriken Shield ends the phase.
Phase 2. Adds a two-hit slash combo, a Shuriken Combo of 3–5 stars and Lightspeed, a dash telegraphed by a glowing yellow line across the arena. At about 50% health she says "Let's finish this" and moves to phase 3.
Phase 3. Adds Sword Rain (swords appear overhead), a three-hit slash combo, a Shuriken Combo of 5–7 stars, and Lightspeed+ with three dashes in a row.
How to beat her.
- Parry rather than dodge. Slashes, shurikens and Lightspeed can all be parried; parried shurikens fly back at her, and parrying Lightspeed stops the dash (or the whole three-dash combo). Parrying also needs no movement, so you stay in position to punish.
- Do not jump shuriken combos. The wiki warns that jumping makes her adjust her aim. Parry or roll each star.
- Sword Rain is the exception. It cannot be parried; block it or roll out.
- Control her. She is vulnerable to freeze, slow and root (with shorter durations on repeat). The wiki lists Heavy Crossbow, Wolf Trap, Frost Blast and Phaser with an Assassin's Dagger as effective, and the Ice Shield, Cudgel and Rampart as good shields.
- Burst to skip phases. Dealing enough damage before a transition can skip phase 2 or 3 entirely — but single hits are capped at 15% of her maximum health, so you need sustained damage, not one big hit.
What she drops. The Lightspeed blueprint on the first kill; Ice Shards on the 3rd, Ice Crossbow on the 4th, and the Velocity, Tainted Flask and Emergency Triage mutations on the 5th to 7th.
Third boss: the Hand of the King (Throne Room)
The Hand of the King is fought in the Throne Room after High Peak Castle or the Derelict Distillery. He is the final boss of the base game's main route and the source of your first Boss Stem Cells.
Phase 1 (0 BSC only).
- Lance Sweep. He groans, pauses, then sweeps upward. Block, parry or roll.
- Bomb Flurry. Six bombs in three pairs with short fuses, thrown at your position. Block, parry or roll; they can be deflected back.
- Summon Enemies (about 85% health). He rises onto an ice platform, becomes invulnerable and summons regular enemies plus an elite. He comes back as soon as the elites are dead — kill the elite first.
Phase 2.
- Swipe & Strike. A three-hit combo; the first and third hits are forward only, the second hits both sides. Each hit can be parried.
- Jab & Telluric Shock. A quick jab, then he jumps at you and sends a rock shockwave. The jab can be parried; the shockwave cannot be parried or rolled, only blocked or jumped.
- Charge. He backs off and runs across the arena. Block or roll it; parrying removes the hit but not his movement. It destroys ground traps.
- Explosive Banners. Three banners fall and explode after 6 seconds unless destroyed, with a red aura showing the blast range. He keeps attacking while they tick.
- Summon Enemies 2 (about 40% health). As before, but with one elite per platform level.
Phase 3. Adds Double Charge (across and straight back) and Super Telluric Shock: he walks to the centre, charges a jump and covers the whole floor in rocks. It can only be blocked — or avoided by standing on the ice platform; rolling and normal jumps do not work.
How to beat him. The wiki's advice is to stay airborne a lot, since many of his attacks miss a jumping target; dodge, jump and dodge again to slip the multi-hit slashes. He carries a frontal shield against projectiles that drops while he attacks, and he resists freeze, slow and stun, so damage over time is the better tool in this compact arena. Wolf Traps still lock him briefly, and reflected grenades or bombs hit hard. A Rampart lets you parry and stop his combos.
What he drops.
- Symmetrical Lance and Telluric Shock blueprints on the first kill.
- The Homunculus Rune, which lets you launch your head to grab items and latch onto enemies.
- The 1st to 4th Boss Stem Cells (one per kill at 0, 1, 2 and 3 BSC active).
- The Recycling Tubes upgrade on your first kill at 1 BSC.
Your first kill also starts the Rise of the Giant content: the Giant's skeleton awakens, and the Cavern Key appears behind a door in the Prisoners' Quarters.
The Giant (Guardian's Haven)
The Giant sits at the second-boss tier. On your first visit you reach him through the Cavern, which opens from the Graveyard once you have used the Cavern Key (the Graveyard itself needs the Spider Rune). After you beat him once, Guardian's Haven can also be reached from the Forgotten Sepulcher with 2 BSC active.
Core mechanic. The Giant can only be damaged while one of his eyes is out. Destroy a fist to expose an eye for 3 seconds, hit it, repeat. Alternating fists keeps him from charging too often.
- Phase 1 (100–75%). Charge (destroy the fist to interrupt), Punch across the arena (parrying stops it completely), Energy Salvo from an open hand (parry the orbs to send them back, which does big damage to the fists), and Slam Fist, which leaves fire waves you jump over.
- Phase 2 (75–50%). Adds Eye Lasers from each eye moving inward — run to the centre of the arena.
- Phase 3 (from 50%). Adds Double Slam Fist and Crystal Collapse, with crystals falling in random patterns that you block or dodge.
Gear. A shield again does the heavy lifting. Area and damage-over-time weapons hit both fists at once. His own drop, Giantkiller, is strong against him and other bosses.
What he drops. Giantkiller on the first kill, the Giant Whistle on the 3rd, and the 5th Boss Stem Cell when beaten with 4 BSC active.
True final boss: the Collector (5 BSC)
With 5 Boss Stem Cells active, a door in the Throne Room leads to the Astrolab and then the Observatory, where the Collector is the final boss. The fight cycles through a melee phase, an interim room where enemies pour out of three doors under falling bombs, and a ranged phase.
- Melee phase: Syringe Lunge (3–5 forward stabs; parry, block or cling to a wall), Syringe Spin (he is immune except to shield-piercing attacks; parrying interrupts it), and Ground Smash, which cannot be blocked, parried or rolled — stay near the walls and watch the ground silhouettes for the falling bombs.
- Ranged phase: Orb Shot (up to 4 orbs, dodge at the last moment), a downward Beam fired 3 times (listen for the sound cue), and Double Tornado columns you roll through.
- The Panacea. He drinks a potion to heal fully as his health drops. The wiki is explicit that you cannot win without it: in the final telescope room, hit him while he drinks so he drops the Panacea, and take it.
The wiki recommends the Crusher to slow and interrupt him and a Wolf Trap or The Boy's Axe to root him. His first kill gives the Collector's Syringe blueprint.
DLC bosses at a glance
These replace a base-game boss at the same tier when you take their route. Only the essentials are listed here.
| Boss | DLC | Tier | Where | What to know |
|---|---|---|---|---|
| Mama Tick | The Bad Seed | 1st | Nest, via the Morass of the Banished | Fights from water; ice and shock damage crit her constantly, fire is weak. Hug the walls against Quick Stabs. First kill: Scythe Claw. |
| Death | Return to Castlevania | 1st | Defiled Necropolis | Four phases with immunity between them; if he collects 6 spirits from you, he summons chains. First kill: Death's Scythe. |
| The Scarecrow | Fatal Falls | 2nd | Mausoleum, via the Undying Shores or the Cavern | Speeds up at 50% and plants exploding mushrooms; roll away from seeds. First kill: Scarecrow's Sickles. |
| The Servants | The Queen and the Sea | 3rd | Lighthouse | Three servants (one per stat colour) during a climb with rising fire, then all three together. First kill: Wrecking Ball, Gilded Yumi, Bladed Tonfas. |
| The Queen | The Queen and the Sea | 4th | The Crown, after the Servants | Four phases split at 75/50/25%; Grab and Throw is unblockable and Fire Wave must be jumped. She enrages if you parry or interrupt her too often. Gives the 1st–4th Boss Stem Cells. |
| Dracula | Return to Castlevania | 3rd and 4th | Master's Keep | Two fights: Dracula, then his Final Form. The Final Form can give the 1st–4th Boss Stem Cells. |
The Queen is the one DLC boss where the "parry everything" habit backfires. The wiki notes that parrying her too often is one of the triggers for her enrage.
Gear that wins boss fights
Common mistakes in boss fights
- Parrying everything. The Concierge's Fire Strike, Conjunctivius's aura, the Time Keeper's Sword Rain, the Hand of the King's Super Telluric Shock and the Collector's Ground Smash cannot be parried. Learn the exceptions first.
- Jumping the Time Keeper's shurikens. She retargets you. Parry or roll instead.
- Ignoring the Hand of the King's banners. They explode after 6 seconds and cover a lot of floor. Break them while dodging his attacks.
- Hitting the Hand of the King's ice platform phase. He is invulnerable until the elites are dead. Kill the elites, not the adds around them.
- Bringing cells into the boss room. Spend everything at the Collector in the passage before the boss door. Cells you die with are lost.
- Relying on one big hit. The Time Keeper and Conjunctivius cap single-hit damage at 15% of their health (Conjunctivius's tentacles at 25%). Steady damage wins.
- Expecting the same fight on 1 BSC. From 1 BSC the Concierge, Conjunctivius, the Time Keeper and the Hand of the King start in phase 2, and health fountains appear only in every other passage. Go in with full flasks.
Related guides
If you keep dying before the bosses, start with the Beginner Guide, which covers the route, runes and what to buy first. For building around one scroll colour, see the Build Guide, and for which weapons and mutations to unlock, the Weapons and Mutations Tier List. What each Boss Stem Cell changes is covered in the Progression Guide, and the overall verdict is in the Honest Review.
★Honest Take: the bosses are fair, the game just does not tell you the rules
Dead Cells has some of the best-designed bosses in the genre. Almost every attack has a clear wind-up, and each boss mixes parryable moves with a few that demand a different answer, so you are always reading rather than reacting blindly. Once you learn that structure, a boss that killed you twenty times can fall in one clean run.
The weakness is that none of this is explained. The game never tells you that the Concierge's fire must be jumped, that the Time Keeper punishes jumping, or that the Hand of the King's last shockwave can only be blocked. Players learn it by dying, and many give up at the Time Keeper believing the problem is their reflexes when it is really a missing shield. The higher BSC levels also change the fights more than the difficulty name suggests, because first phases vanish. If you are stuck, the honest advice is: carry a shield, learn the three or four "do not parry" moves per boss, and the fights become far more manageable.