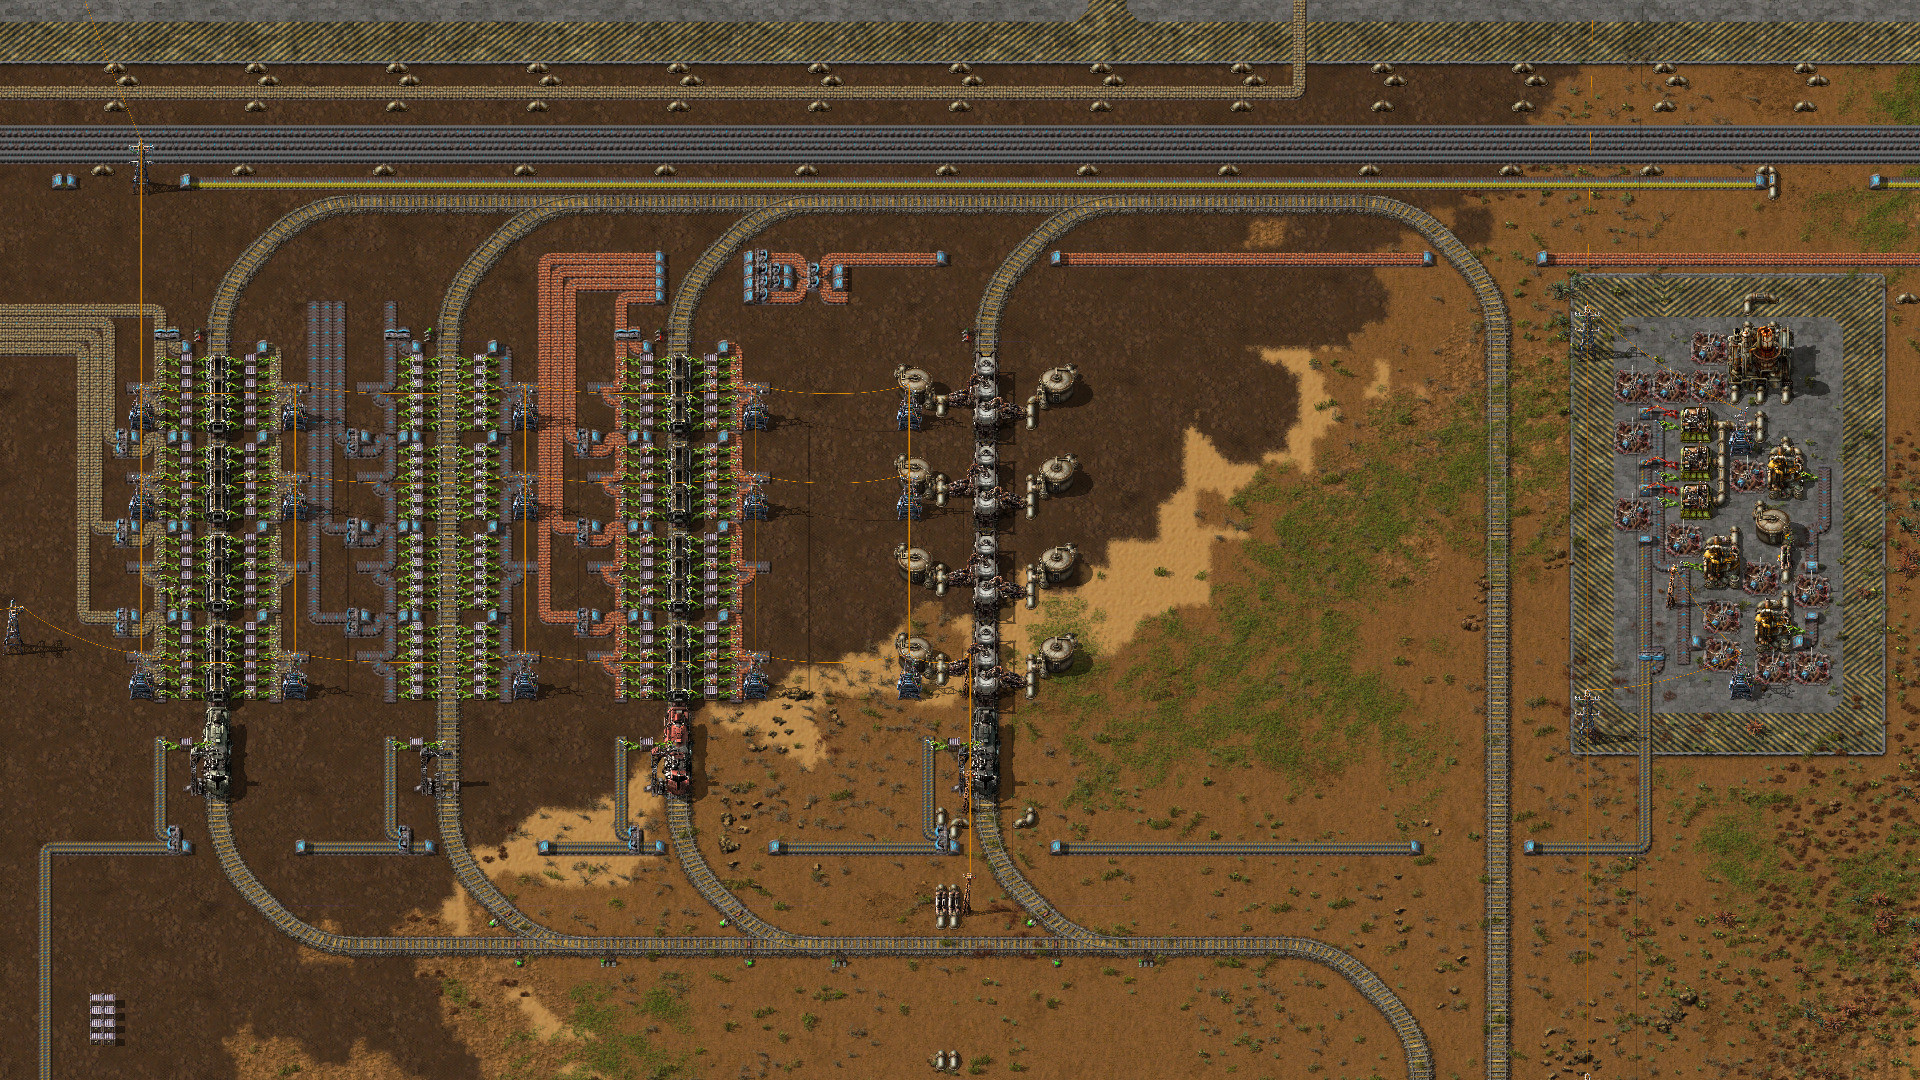
Factorio's opening is not open-ended. Every new factory goes through the same chain: hand-mined stone becomes furnaces, burner drills feed those furnaces, a few dozen plates unlock power, power runs labs, and labs unlock the assemblers that start real automation. Once you know that chain, the first hour stops being confusing.
This guide is written for Factorio 2.0 (base game). 2.0 changed the very start of the tech tree — the first few technologies are now unlocked by crafting things rather than by research — so older guides that tell you to research Steam power or Electronics with science packs are out of date. All numbers below are for normal-quality buildings, taken from the official Factorio Wiki.
Space Age: the expansion's other planets only open after you can launch rockets, so everything in this guide applies to a Space Age save as well. Where a building has a Space Age-only upgrade, it is not needed here.
The first hour at a glance
| # | Goal | How | What it unlocks |
|---|---|---|---|
| 1 | First iron and copper plates | Burner mining drills dropping ore straight into stone furnaces | Plates for every early recipe |
| 2 | Self-sustaining coal | Two burner drills on coal, facing each other | Fuel without hand-feeding |
| 3 | Steam power and Electronics | Craft 50 iron plates and 10 copper plates (2.0 triggers) | Boiler, steam engine, offshore pump, lab, inserter, small electric pole |
| 4 | Red science | Craft one lab (trigger) | Automation science pack recipe and the first real research |
| 5 | Electricity | Offshore pump → boiler → 2 steam engines, poles to the labs | Labs, electric drills, assemblers can run |
| 6 | Automated red science | Research Automation; 1 gear assembler feeding red-pack assemblers | Research runs without you |
| 7 | Green science | Research Logistic science pack; automate inserters and belts | The full early tech tree |
Step by step: from burner drills to green science
-
1
1. Burner drills into stone furnaces
Mine stone by hand, craft stone furnaces (5 stone each) and place a burner mining drill on iron ore with its output arrow pointing into a furnace. The drill drops ore directly into the furnace — no belts or inserters needed. Do the same on copper. A burner drill mines 0.25 ore/s and a stone furnace smelts 0.3125 plates/s, so one drill per furnace never overfills it.
-
2
2. Make coal look after itself
Two burner drills placed on coal facing each other refuel each other and slowly stockpile coal in their fuel slots. It is the easiest way to stop running back and forth with coal, and the stockpile is handy for refuelling the iron and copper drills by hand.
-
3
3. Trigger Steam power and Electronics
In 2.0, crafting 50 iron plates unlocks Steam power (boiler, steam engine, offshore pump, pipe, pipe to ground) and crafting 10 copper plates unlocks Electronics (copper cable, electronic circuit, inserter, lab, small electric pole). Your burner setup produces both without extra effort.
-
4
4. Craft a lab to unlock red science
Crafting your first lab (10 electronic circuits, 10 iron gear wheels, 4 transport belts) unlocks the Automation science pack recipe: 1 copper plate + 1 iron gear wheel, 5 seconds. Hand-craft a stack while you build power.
-
5
5. Build steam power
Place an offshore pump on water, pipe it to a boiler, and put two steam engines on the boiler's steam output. Feed the boiler coal. Run small electric poles to your labs; each pole needs 1 wood per 2 poles, so keep some trees for wood.
-
6
6. Research, then automate red science
Load the labs with red packs and research Automation (assembling machine 1), Electric mining drill and Logistics. Then build one assembler making gears and feed it into assemblers making red packs, with inserters moving items between them.
-
7
7. Unlock and automate green science
Research Logistic science pack. Its recipe is 1 inserter + 1 transport belt, 6 seconds. Build assemblers for gears, electronic circuits (with copper cable), inserters and belts, and feed them into green-pack assemblers. When red and green both run on their own, the opening is over.
The first electric mining drills come from research, not from the start. Until then, every burner drill you add is worth it — they are cheap (3 iron gear wheels, 3 iron plates and a stone furnace) and you can pick them up and reuse the furnaces later.
Ratios worth knowing early
You do not need a calculator in the first hour, but a few ratios prevent the most common bottlenecks. The rates come from the official wiki; the ratios are simple arithmetic on them.
| Ratio | Why | Source numbers |
|---|---|---|
| 1 boiler : 2 steam engines | A boiler makes exactly the steam two engines use | Boiler 60 steam/s, 1.8 MW; steam engine 30 steam/s, 900 kW |
| 1 offshore pump : up to 200 boilers | One pump is plenty for the whole early game | Offshore pump 1,200 water/s; 1 water becomes 10 steam |
| 0.45 coal/s per boiler | Coal a fully loaded boiler burns | 1.8 MW ÷ 4 MJ per coal |
| 5 electric drills : 8 stone furnaces | Drill output matches furnace input | Drill 0.5 ore/s; furnace 0.3125 plates/s |
| 48 stone furnaces per full yellow belt | How long a smelting column can usefully be | Yellow belt 15 items/s ÷ 0.3125 |
| 1 gear assembler : up to 10 red-science assemblers | Assembling machine 1 makes up to 1 gear/s; each red-pack assembler uses 0.1 gear/s. Only if its iron input keeps up | Crafting speed 0.5; gear 0.5 s; red pack 5 s |
| 5 red : 6 green assemblers | Both make 0.5 packs/s, and red+green research uses one of each per unit | Red pack 5 s, green pack 6 s at speed 0.5 |
| 3 copper cable : 2 circuit assemblers | Keeps electronic circuits fed | Cable 0.5 s for 2; circuit 0.5 s for 3 cables |
Two more numbers help when planning power. A steam engine produces 900 kW, and an electric mining drill uses 90 kW, an assembling machine 1 uses 75 kW and a lab 60 kW. So one boiler and two steam engines (1.8 MW) run roughly 20 electric drills, or a mix of drills, assemblers and labs. When the power graph flattens at full load, add another boiler with its two engines before adding more machines.
Power loss spirals. If your coal is mined by electric drills and the boilers run short, the drills slow down, mine less coal and the boilers run shorter still. Keep a burner drill pair or a chest buffer on the coal feeding your boilers until you have spare capacity.
Belts and inserters: the basics that trip people up
Transport belts have two lanes. A yellow belt carries 15 items/s across both lanes; red belts (Logistics 2, which needs green science) double that. Belts are available from the start; the Logistics research unlocks splitters and underground belts.
Inserters move one item at a time from one side to the other. Useful facts:
- An inserter places items on the far lane of a belt. To put two different items on one belt — iron ore and coal for a furnace line, for example — feed them from opposite sides.
- Chest-to-chest speeds without bonuses: burner inserter 0.79 items/s, inserter 0.86, long-handed 1.25, fast inserter 2.5. A single basic inserter is too slow for fast recipes: a gear assembler at full speed needs 2 iron plates/s, more than two basic inserters can move. Feed it from several inserters or accept that it runs slower.
- Long-handed inserters reach two tiles, so they can pick from the second of two parallel belts. This is how a furnace column takes ore from one belt and fuel from another.
- Inserters also fuel burner machines: an inserter feeding coal into a furnace keeps the furnace running.
Put one belt of iron ore and coal down the middle of two furnace rows: ore on one lane, coal on the other. Inserters pull both from the shared belt, and output inserters drop plates onto an outer belt. This is the standard early smelting column and scales up to 48 stone furnaces per yellow belt.
Research priorities
With only red science, there are a dozen techs available. They are not equal.
The first three technologies (Steam power, Electronics and the Automation science pack recipe) do not appear in this list because they are triggers in 2.0: you unlock them by crafting, not with packs.
When to start a main bus
A main bus — several parallel belts of plates and circuits running through the middle of the base — makes later expansion orderly. It is not where you start. Build red and green science with a compact, even messy, layout first; a bus only pays off once you produce many different things from the same plates.
A practical trigger: when green science runs and you are about to build a third product line, lay down a small bus with a few belts of iron and copper plates and leave room on both sides. How to size it and what belongs on it is covered in the Main Bus Design Guide.
Pollution and biters in the opening
Biters do not attack because you exist; they attack because their spawners absorb your pollution. A spawner that has absorbed enough sends units to a gathering point, and they attack together. Until your pollution cloud reaches a nest, that nest does not send attacks — though nests do slowly expand into new territory over time.
| Early building | Pollution per minute |
|---|---|
| Boiler | 30 |
| Burner mining drill | 12 |
| Electric mining drill | 10 |
| Assembling machine 1 | 4 |
| Stone furnace | 2 |
What that means in practice:
- Your power plant is your worst polluter. Put the boilers on the side of your base away from known nests.
- Keep the trees. Trees absorb pollution; clear only what you build on.
- Defend in the direction of the cloud. Open the map's pollution view, see which nests it touches, and build gun turrets (range 18, firearm magazines) with stone walls on that side.
- Don't clear nests for fun. Each destroyed spawner raises the evolution factor, which makes future biters stronger. Clear only nests that your pollution reaches or that block expansion.
Turret layouts, ammo supply and how evolution works are covered in the Defense and Pollution Guide.
Common mistakes
- Running out of coal at the boilers. Covered above: buffer the boiler coal until power has headroom.
- Mixing items on a belt by accident. An inserter dropping the wrong item on a belt will slowly jam everything downstream. Check where each output inserter drops before connecting a belt.
- Too few smelters. Almost every bottleneck in the first hours is plates. Build smelting in columns that can grow toward 48 furnaces per belt.
- Hand-crafting forever. Once Automation is researched, make assemblers for gears, belts and inserters even if you still hand-craft the final buildings.
- Building too tight. You will rebuild the opening factory. Leave gaps between lines so that rebuild does not require tearing everything down.
- Clearing all the trees. You lose pollution absorption and the wood for small electric poles at the same time.
For what comes after green science — oil, blue science and the road to the rocket — see the Progression Guide. For whether Factorio is worth your time at all, see the Factorio Review.
★Honest Take: the opening is a lesson, not a test
The opening hour of Factorio is the part most new players find hardest, and it is also the least important part of the game. Nothing you build here will survive; the burner drills, the tangled red science line and the first boilers all get replaced within a few hours. Its real job is to teach the chain — ore to plates to parts to science — and the habit of asking "what is the bottleneck?" instead of "what should I build?".
The 2.0 trigger technologies help here: crafting your way into steam power and labs gives the first minutes a clear direction that older versions lacked. What still catches people is power and pollution, because both fail quietly — the factory slows down or an attack arrives long after the cause. Learn the 1:2 boiler ratio, keep coal buffered, build away from nests, and the rest of the opening is yours to make messy.