The Bottom Line: Cut Pollution, Then Layer Walls and Turrets
Defense in Factorio is not a game of slugging it out head-on. Three points matter. First, cut pollution to lower the frequency and size of raids. Second, understand how the evolution factor climbs so you can ring your perimeter before enemies get strong. Third, combine walls, gates, and turrets so you whittle enemies down while they bash the wall.
Biters and spitters (the ranged, acid-spitting type) are drawn to the pollution your factory emits. A nest only musters an attack once pollution reaches it, so "keeping pollution away from nests" is your first line of defense.
How Pollution Works — and How to Cut It
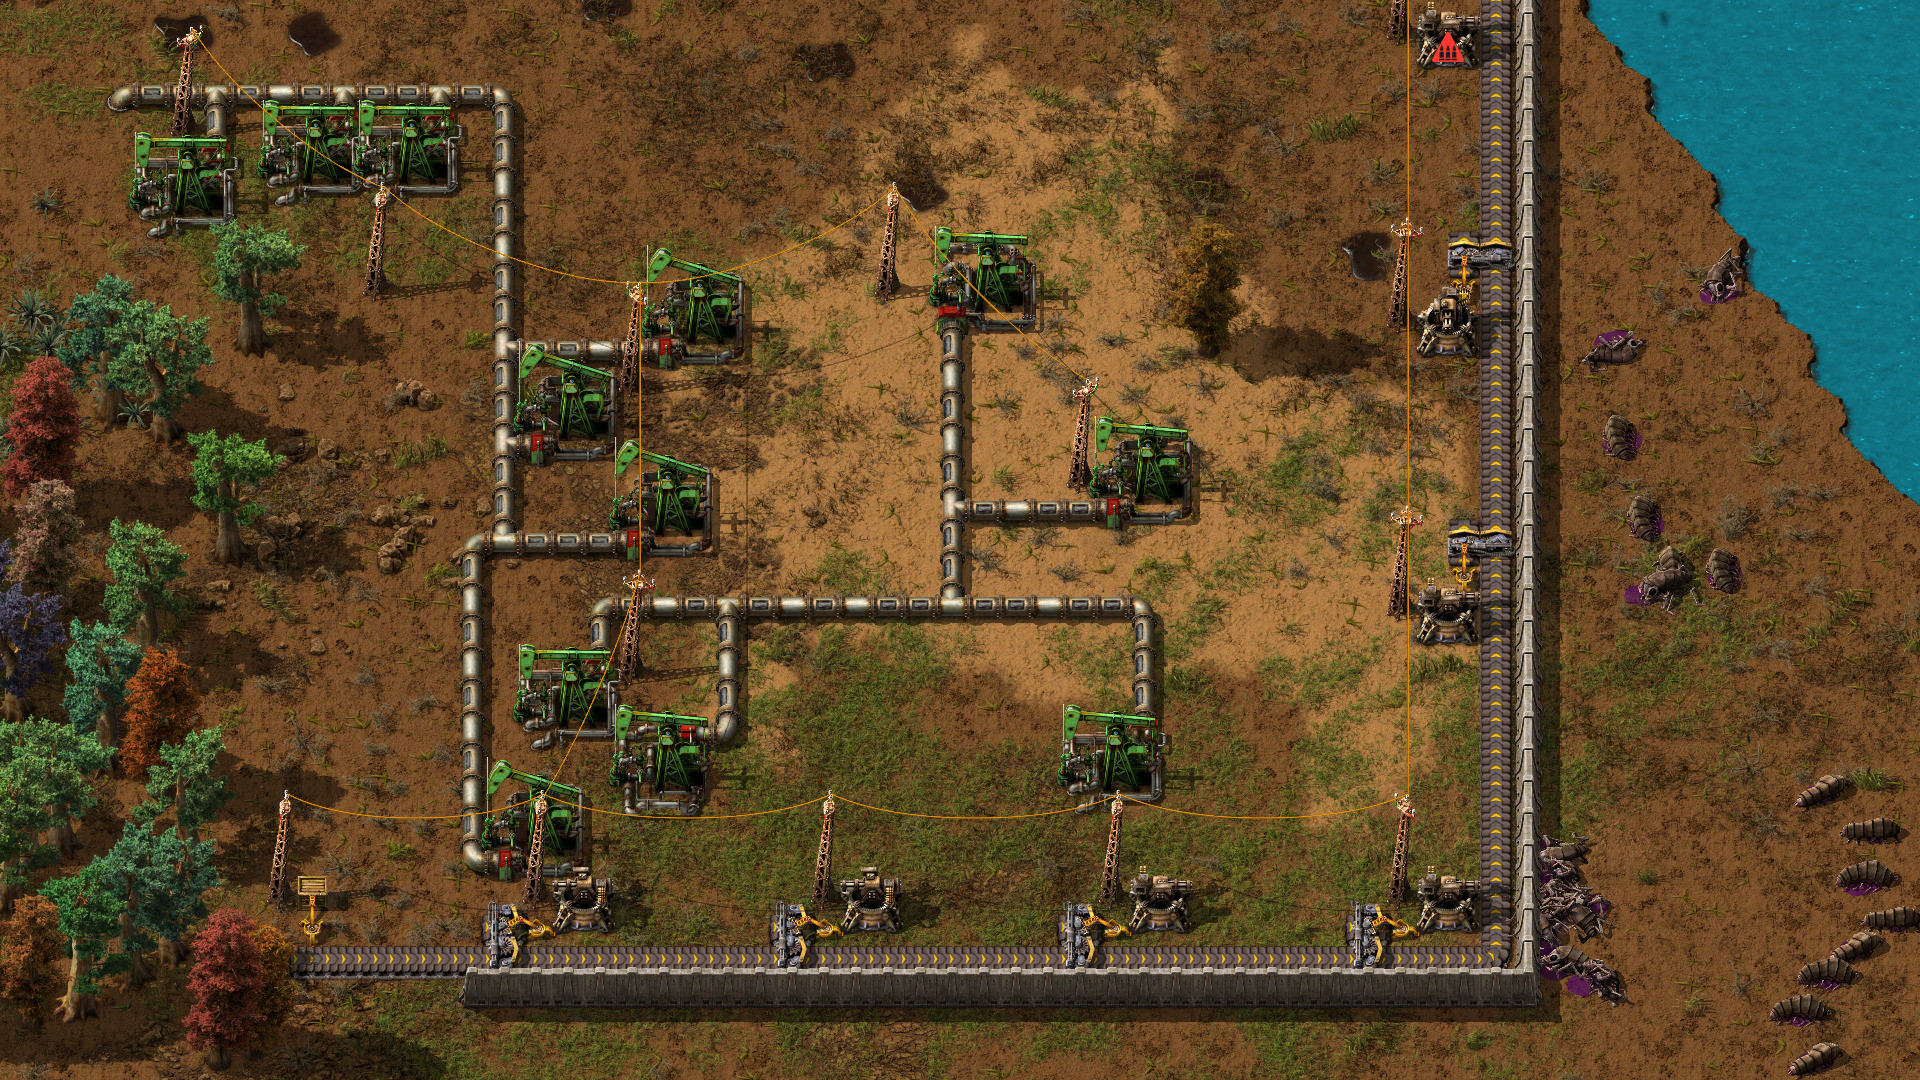
Pollution is generated by running machines and spreads outward as a per-chunk cloud. The heaviest polluters are boilers (the worst in the base game), mining drills, assemblers, and furnaces. When pollution reaches an enemy nest, the nest converts it into attack frequency and sends raids your way.
| Measure | Effect | Notes |
|---|---|---|
| Solar + accumulators | Yes | Cuts boiler pollution sharply. Needs storage for night |
| Switch to electric furnaces | Yes | Lower pollution than stone/steel furnaces |
| Higher-tier assemblers | Partial | Tier 3 is a bit cleaner, but limited |
| Keep trees | Partial | Green trees absorb pollution. Don't over-clear |
| Efficiency modules | Yes | Cut power draw and pollution at once |
Important — evolution rises from the total pollution your machines produce, not from spread or absorbed pollution. So letting trees and water soak it up will not slow evolution. Treat pollution control purely as a way to tame raid frequency and size.
Make the Evolution Factor Work for You
Evolution is a hidden 0-to-1 value that sets how strong the enemies you face are. It rises from time, total pollution, and nest kills. Nest kills hit hard at about 0.002 each, so if you go around clearing nests you don't need in the early game, you're making your own enemies stronger.
As evolution rises, biters climb from small to medium to big to behemoth, and nest health scales up to roughly 10x. The flip side: defense is cheap while evolution is low, so the earlier you ring your perimeter, the easier everything after gets.
Choosing Your Turrets
| Turret | Ammo/Power | Range | Best at |
|---|---|---|---|
| Gun turret | Ammo (resupply) | 18 | Early game — no power, cheap |
| Laser turret | 1.2 MW power | 24 | No ammo, long range |
| Flamethrower turret | Crude/light oil | 6-30 (arc) | Wiping out swarms |
Gun turrets shine because they need no power and go anywhere. Ammo upgrades from regular to piercing to uranium rounds, and physical damage research boosts both the ammo and the turret. Laser turrets need no ammo as long as they have power and reach 24 tiles, but they cause power spikes in combat, so you need spare generation. Flamethrower turrets are brutal against fire-vulnerable biter swarms, but their minimum range and 120-degree arc make them poor at hitting lone targets — treat them as support fire.
Building a Practical Defensive Line
-
1
Map your pollution and the perimeter's facing
Read the pollution spread and nest locations to find which edge raids come from. Don't wall the whole map — thicken the incoming side first.
-
2
Build the front with stone walls
Ring the perimeter with stone walls (350 HP) as a shield to soak hits. Put a gate at entrances so you can pass without losing defensive strength.
-
3
Place gun turrets one or two tiles behind the wall
Line them up so they whittle enemies down while the wall is being bashed. Auto-resupply ammo with inserters to avoid running dry.
-
4
Boost ammo and turrets with military research
Push physical damage research, shooting speed, and turret upgrades. Research is the real backbone — it matters more than raw structure count.
-
5
Add lasers and flamethrowers when you can spare it
Once power allows, add lasers for extra range, and add flamethrowers on the edge raids come from to wipe out swarms.
A front line collapsing from an ammo shortage is a classic loss. Keep ammo flowing to your gun-turret rows with belts and inserters, and scatter roboports stocked with repair packs around the perimeter — that way the wall auto-repairs during night raids while you're asleep, keeping things stable.
How Evolution, Pollution, and Progression Connect
Defense is one with your factory's progression. Run research efficiently and military tech comes faster, making defense cheaper. For research order and the road to the rocket, see the Progression Guide; for organizing the production lines that tend to pollute, see Main Bus Design.
★ Subjective Take: Master Defense and Your Factory Breathes
Honestly, leave defense sloppy and a night raid will punch through your front line, chew up your factory, and stall your progress while you rebuild. But once you build the pattern — thicken the incoming side, turrets behind the wall, auto-resupply ammo, research to lift the floor — you can shrug off rising pollution and handle raids calmly. You don't need a perfect fortress from day one. Thicken only the edge that's attacked, and ring your perimeter before evolution climbs — that order is, in my experience, the key to playing long and comfortably.