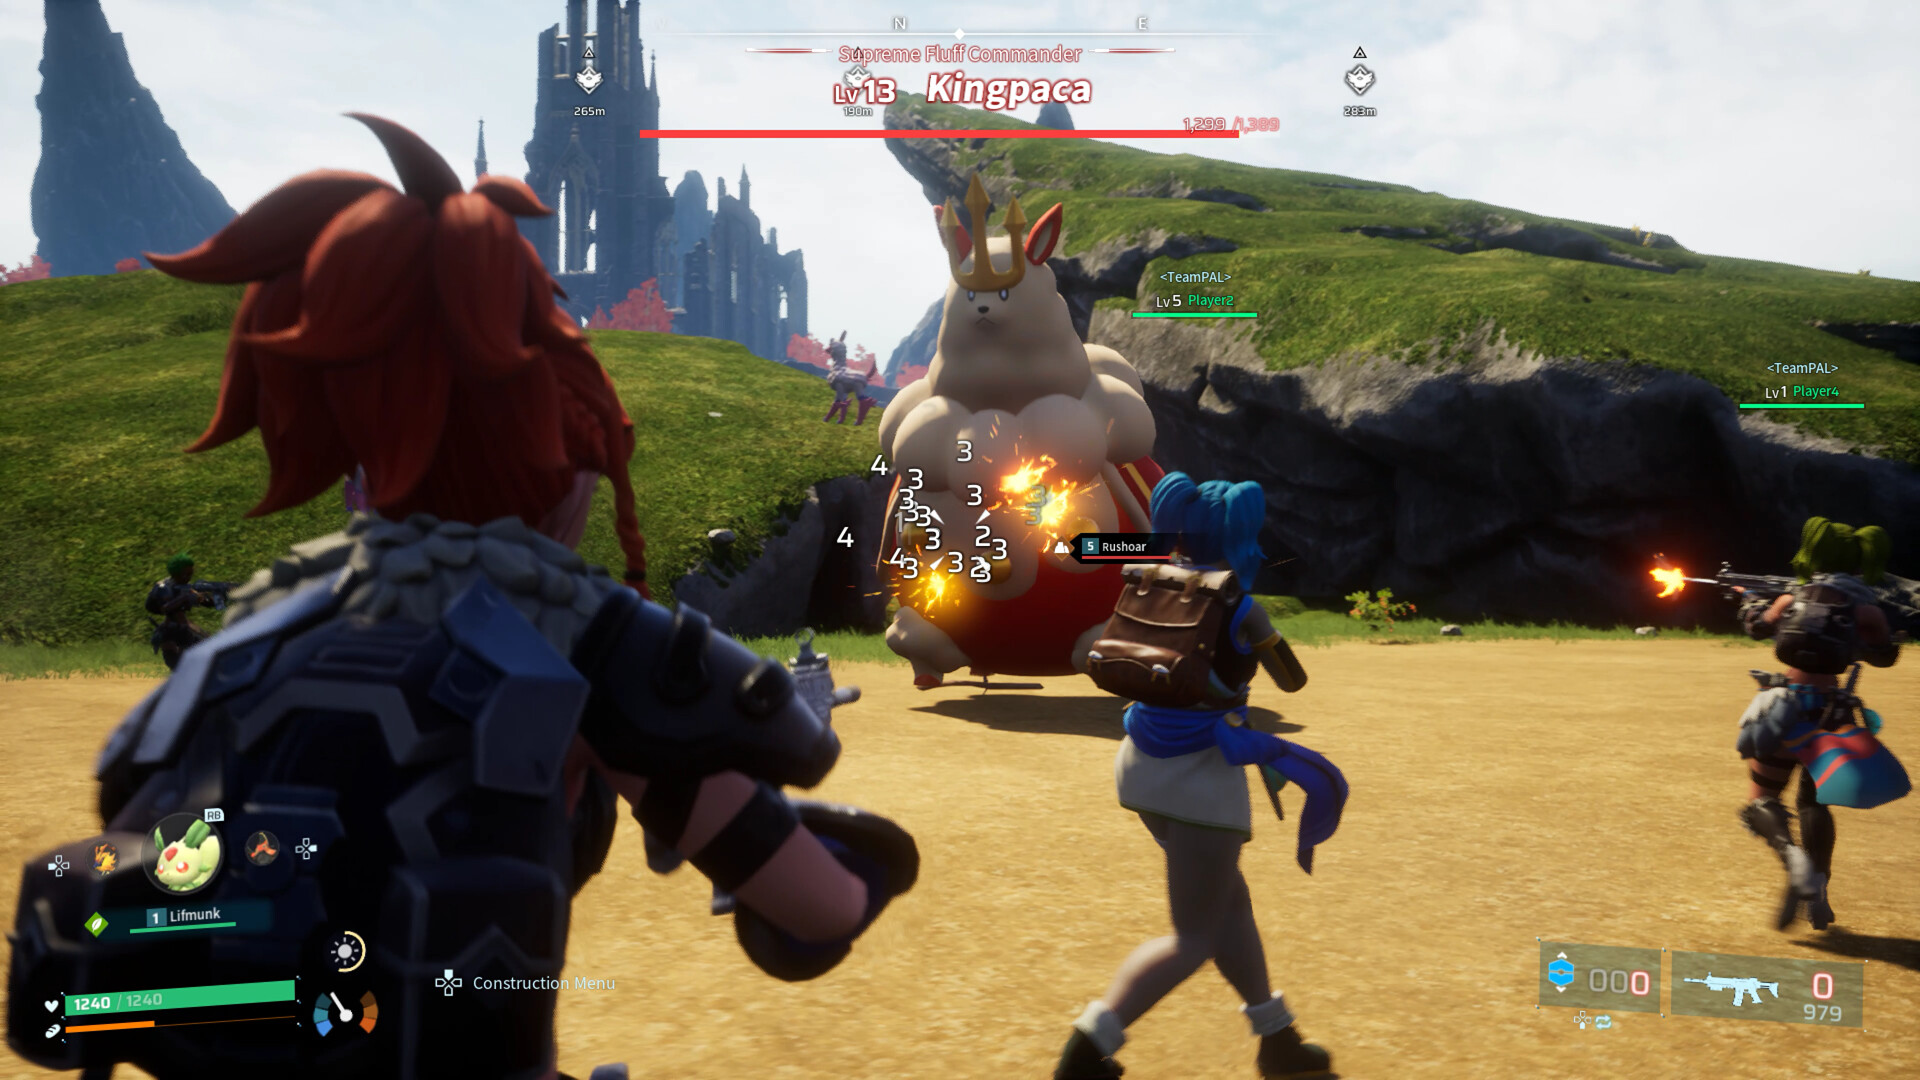
A Palworld base is not a house; it is a workforce. The Palbox claims a cylinder of land, the Pals you assign to it pick up jobs on their own, and everything they make piles up while you are away. Whether that pile is large or tiny comes down to four things: the base level (how many workers you are allowed), the site, the layout (whether Pals can reach their work quickly), and who you assign. This guide covers all four for version 1.0, plus the two things that quietly stop a base: low sanity and raids.
If you are still on your first base, the Beginner Guide covers the first 20 levels and where to place that first Palbox. This guide picks up from there.
What to do first
| Priority | What to do | Why |
|---|---|---|
| 1 | Follow the Palbox base missions | They are the only way to raise base level, which sets your worker cap and the number of bases |
| 2 | Give every worker a bed and keep the Feed Box stocked | Sleeping without a bed lowers sanity, and hungry Pals stop to eat or get ill |
| 3 | Build a Hot Spring and a Monitoring Stand | The Hot Spring restores sanity quickly; the Monitoring Stand lets you switch off unwanted work types |
| 4 | Put storage next to the stations that produce | Shorter carrying trips mean more time working |
| 5 | Assign specialists to the jobs that matter | Pals with several skills drift to higher-priority jobs and leave yours unstaffed |
| 6 | Wall the approach before you level workers far | 1.0 raids scale with the level of your assigned workers |
Base level: workers and extra bases
Base level is separate from your player level. It rises only when you complete the missions shown in the Palbox, which ask you to deploy a number of workers and build specific structures. On default settings, each base level allows one more working Pal, up to 30, and three levels unlock an additional base. The maximum base level is 35.
| Base level | Working Pals | Bases allowed | What that level's mission asks for (examples) |
|---|---|---|---|
| 1 | 1 | 1 | Deploy a worker, build a Wooden Chest and Primitive Workbench |
| 3 | 3 | 1 | Feed Box and three Straw Pal Beds |
| 5 | 5 | 1 | Crusher, Stone Pit and Logging Site |
| 6 | 6 | 1 | Primitive Furnace, Statue of Power and Hot Spring |
| 8 | 8 | 2 | Deploy 8 workers, Metal Chest and Sphere Workbench |
| 11 | 11 | 2 | Sphere Assembly Line and Power Generator |
| 15 | 15 | 3 | Guild Chest and Electric Kitchen |
| 20 | 20 | 3 | Crude Oil Extractor |
| 25 | 25 | 4 | Two Advanced Chests |
| 30 | 30 | 4 | Ancient Workbench |
| 31-35 | 30 | 4 | Late facilities such as the Ancient Kitchen and Ancient Material Synthesizer; the worker cap stays at 30 |
Two practical consequences:
- You cannot skip missions. If a mission asks for a structure you have not unlocked in the technology tree yet, the base stalls at that level until you do. When a base seems stuck, the answer is almost always in the mission list.
- Workers only work inside the base area. Pals perform tasks at compatible structures within the cylinder, so a fourth base is worth exactly as much as the resources you can fit inside its radius.
These are default values. Single-player worlds and dedicated servers can change the number of bases and the worker cap in the world settings, so numbers on a modded or tuned server can differ.
Choosing a site
The base is a cylinder about 35 m in radius around the Palbox, roughly 9 foundation tiles. Because the edge is circular, only about 8 tiles are safely usable when you build on a grid. The Palbox cannot be placed on ground steeper than 15 degrees.
| What to look for | Why it matters | What to avoid |
|---|---|---|
| Flat ground across most of the circle | Room for a grid of beds, plantations and stations; Pals walk straight lines | Hillsides where half the circle is a slope |
| The resource you want inside the radius | Mining Pals work ore nodes inside the base; a node outside it is useless to them | Building next to a node that sits on the boundary |
| A clear job for the base | With up to four bases, each can specialise (ore, production, farming) | Four identical bases that each do a bit of everything |
| An approach you can wall off | Raiders arrive on foot; a narrow approach is easier to defend | Sites open on every side if you plan to keep raids on |
| Easy travel | 1.0 lets you fast travel from the map while you are inside a base's range | Remote spots you never visit, where problems go unnoticed |
Version 1.0 increased how much ore spawns across the overworld and stopped enemy bases from spawning too close to player bases, so good sites are easier to find than older guides suggest. It also added an Aquatic Construction Kit for shoreline and ocean building.
For how to split jobs between your bases (an ore base, a production base and a farm), see the Automation Guide.
Layout: build for Pal paths, not for looks
Pals do not teleport to their jobs. Every trip to the Feed Box, a bed, a chest or the Hot Spring is time not spent working, and every awkward staircase is a chance for a Pal to get stuck. A good layout is compact and flat.
-
1
Keep a tight core in the middle
Put the Palbox, the Feed Box and the Hot Spring close together near the centre. Every Pal visits the Feed Box and the Hot Spring, so the centre minimises the average walk.
-
2
Put the beds next to the core
Build one bed per worker, in a block beside the core. Pals go to bed at night (unless they are nocturnal), so a bed at the far edge costs a long walk twice a day.
-
3
Put storage beside the producers
Transporting Pals carry output from stations and the ground to storage. A chest next to the furnace, the logging site and the plantations shortens every trip. In 1.0, chests can auto-deposit matching items and can be named and painted, so you can label them by material.
-
4
Keep work stations on the ground floor
Multi-storey bases look good, but stairs and narrow doorways are where Pals get stuck. Put the things Pals work at on open, flat ground and keep upper floors for your own storage and decoration.
-
5
Leave a margin at the boundary
Keep anything Pals need to reach well inside the usable 8 tiles. Stations jammed against the edge are the most common place for unreachable jobs.
-
6
Leave room for what comes later
A Ranch, more plantations, the Breeding Farm, assembly lines and generators all arrive with later base levels. Plan an empty block for them instead of rebuilding.
Version 1.0 removed the Repair Kit requirement: Pals with Handiwork now repair damaged structures themselves. It also made base Pals finish partly completed tasks more reliably, so a half-crafted batch no longer sits abandoned as often.
Who works what: assigning the right Pals
How Pals choose jobs
Each Pal works only the jobs it has a Work Suitability for, and since 1.0 suitability levels go up to 10 (most Pals naturally sit between 1 and 8). Older lists that top out at level 4 are from before 1.0. Levels can be raised with the Pal Essence Condenser and with Applied handbooks.
When a Pal has several suitabilities, the game decides what it does next from an internal work priority list. Per the v1.0.5 data on paldb, defence comes first, then aid and construction, electricity, kindling, cooking, harvesting, planting and watering, medicine, then handiwork and farming, then mining and lumbering, with transporting, gathering and cooling near the bottom.
That explains a classic frustration: you put a strong Mining Pal at your ore base, but it also has Handiwork, and it keeps walking off to the workbench. Use the Monitoring Stand to switch off work types you do not want at that base, or fix specific Pals to specific facilities, which it also allows.
Workers worth assigning
Levels below are from paldb's v1.0.5 data. "Food" is the Pal's food amount; higher means it empties the Feed Box faster.
| Job | Pal | Suitability (1.0) | Food | Note |
|---|---|---|---|---|
| Handiwork + Mining | Anubis | Handiwork 6, Mining 6, Transporting 4 | 8 | The classic all-round worker; breed it from Penking + Bushi |
| Mining | Astegon | Mining 7, Handiwork 3 | 7 | Nocturnal, so it mines through the night |
| Mining (mid-game) | Digtoise | Mining 4 | 5 | A dedicated miner with nothing else to drift to |
| Electricity | Orserk | Generating Electricity 8, Handiwork 3, Transporting 4 | 9 | Top-level power, but one of the hungriest workers |
| Electricity (earlier) | Grizzbolt | Generating Electricity 5, Handiwork 4, Transporting 5, Lumbering 3 | 6 | Also the first tower boss's Pal |
| Kindling | Jormuntide Ignis | Kindling 7 | 8 | Single-skill, so it stays at the furnace |
| Watering | Jormuntide | Watering 7 | 8 | Runs crushers, mills and crops |
| Planting + Medicine | Lyleen | Planting 7, Gathering 6, Handiwork 5, Medicine Production 5 | 8 | Good Clinic staff as well as a farmer |
| Transporting + Lumbering | Wumpo Botan | Transporting 6, Lumbering 5, Planting 3, Handiwork 3 | 7 | Hauls output to storage |
| Lumbering + Mining | Mammorest | Planting 4, Lumbering 4, Mining 4 | 6 | A solid wood and stone base worker |
| Cooling | Reindrix | Cooling 3, Lumbering 3 | 4 | Enough for refrigerators and cold storage |
| Night transport | Helzephyr | Transporting 4 | 7 | Nocturnal hauler |
| Honey (Ranch) | Beegarde | Gathering 3, Farming 3 | 3 | Honey at the Ranch; the only cake ingredient merchants do not sell |
| Milk (Ranch) | Mozzarina | Farming 2 | 2 | Milk at the Ranch, cheap to feed |
Food cost is the hidden price of big workers. Orserk eats 9 and Anubis 8, while Depresso (Handiwork, Mining, Transporting and Farming at Lv 1, nocturnal) eats 1. A base full of legendary-tier workers needs a serious berry or wheat supply behind it.
For which of these are also worth using in combat, see the Strongest Pal Tier List; for breeding the passives that speed work up, see the Breeding Guide.
Night shifts
Pals with the Nocturnal trait work at night instead of sleeping. Astegon, Helzephyr and Depresso are examples. One or two in each base keeps the furnace fed and the chests filling overnight, which adds up over a long session.
Sanity, hunger and illness
A base that produces well on day one and badly on day five is usually a sanity problem.
Sanity (SAN)
Work lowers sanity, by an amount that depends on the job, the station and the work intensity set in the Monitoring Stand. As it falls, Pals take breaks, then slack off, overeat at the Feed Box and eventually get ill. Working at low sanity can also injure them.
| Tool | Effect |
|---|---|
| Beds | Pals recover sanity while sleeping in beds, more in better beds. Sleeping without a bed lowers it |
| Hot Spring | Restores 0.5 SAN per second to Pals resting there. In 1.0, a Pal stays in until its sanity is full |
| Monitoring Stand | Sets work intensity; a more relaxed setting means less sanity loss |
| High Quality / Ancient Monitoring Stand | Same controls, and they also reduce sanity loss for every Pal at the base |
| Clinic (technology level 24) | Staffed by a Medicine Production Pal. Reduces sanity loss base-wide by 15% at rank 1, 20% at rank 5 and 25% at rank 10, and prevents illness (15%, 40% and 60% at those ranks). Only one per base counts |
| Food | Many dishes restore some sanity as well as hunger |
1.0 also stopped base Pals and party Pals from losing sanity when they take damage.
Hunger
When a base Pal drops to 50% satiety and the Feed Box has food, it stops what it is doing, walks to the box and eats until it is above 50%. With an empty box, Pals stay hungry, lose sanity and risk illness. Keep a berry or wheat plantation running near the box, and size it to your workers' food amounts. 1.0 added Nutrient, a consumable that stops hunger from dropping for a while, and softened the penalties from hunger and injuries.
Illness and injury
| Condition | Effect (v1.0.5 data) | Cure |
|---|---|---|
| Sick | Work Speed -5 | Low Grade Medical Supplies |
| Sprain | Movement Speed -5 | Low Grade Medical Supplies |
| Overfull | Hunger drains faster | Low Grade Medical Supplies |
| Ulcer | Work Speed -10, Movement Speed -5 | Medical Supplies |
| Fracture | Work Speed -5, Movement Speed -10 | Medical Supplies |
| Weakened | Work Speed -10, Movement Speed -20 | High Grade Medical Supplies |
| Depressed | Work Speed -20, Movement Speed -10 | High Grade Medical Supplies |
Feed the medicine to the Pal directly. A Clinic prevents illness but does not cure a Pal that is already ill, so keep a few of each grade of medicine in a base chest.
Raids in 1.0
Raids were reworked in 1.0, and older advice about them is mostly out of date:
- Raids come in waves. Enemies attack in successive waves rather than one group.
- Raid strength scales with your workers. The level of raiding enemies follows the level of the Work Pals assigned to the base, so a base full of high-level Pals draws stronger raids.
- Defences no longer use ammo. Defensive structures operate without consuming ammunition. The Mounted Crossbow (technology level 26) needs a Handiwork Pal assigned to it and then defends the base continuously; later mounted weapons work the same way.
- You can pay to skip one. The Negotiator, added in 1.0, prevents an upcoming raid if you pay Gold Coins.
- Gold Coin production attracts attention. Building the Gold Coin Assembly Line triggers its own dedicated raid event.
Walls are the cheapest defence. Wall the approach to your core (beds, Feed Box, Palbox), place a couple of staffed defensive structures behind the wall, and keep a few spare combat-capable Pals at the base, since defence is the highest priority job and Pals will drop their work to fight. If you would rather not deal with raids at all, they can be disabled in the world settings in single player and on dedicated servers.
Common mistakes
| Mistake | What happens | Fix |
|---|---|---|
| Ignoring the base missions | The base stays at a low level, with few workers and one base | Check the Palbox missions every time you return |
| Fewer beds than workers | Pals sleep on the ground and lose sanity | One bed per Pal; add beds when the cap rises |
| No Hot Spring | Sanity drains until Pals slack off or get ill | Build one as soon as your base mission asks (base level 6) |
| Stations on upper floors or behind stairs | Pals get stuck and jobs sit idle | Keep working stations on flat ground |
| Chests at the edge of the base | Transporting Pals spend their time walking | Put a chest beside each producer |
| All-rounders at a specialist base | Your miner walks off to craft | Switch off unwanted work types in the Monitoring Stand |
| Too many big eaters | The Feed Box empties overnight | Mix in low-food workers and scale up the farm |
| Levelling workers without defences | Stronger raids hit an open base | Walls first, then staffed defensive structures |
Related guides
- Automation Guide — assembly lines, power and splitting jobs between bases
- Breeding Guide — breeding Anubis and stacking work-speed passives
- Strongest Pal Tier List — the best Pals by role
- Beginner Guide — the first 20 levels and the first base
- Palworld Review — whether the long-term loop is for you
★Honest Take: the best system in the game, with the worst explanations
A well-run base is the most satisfying part of Palworld: you leave with empty chests and come back to ingots, spheres and cake ingredients. The base-level missions are a good guide and 1.0 fixed real annoyances, such as structures needing Repair Kits and Pals abandoning half-finished work. The weaknesses are just as real. The game never shows you the work priority that makes a Pal ignore the job you gave it, sanity is explained in a sentence, and pathfinding still punishes any base with stairs. None of that is fatal once you know it: build flat, build compact, give everyone a bed, and use the Monitoring Stand. Do that and the base stops being a chore and starts paying for everything else you do.