Palworld drops you on an island with no quest marker that matters and a technology tree full of furniture. The first hours feel aimless until you notice that the game has a built-in roadmap: the base-level missions in the Palbox ask for exactly the buildings you need next, in a sensible order. This guide turns that into a level-by-level plan and adds what the missions do not tell you: which Pals to catch, where to put the base, and where stat points go.
Unlock levels below are from the technology tree as of version 1.0. Version 1.0 also changed a few things older guides get wrong, such as the capture bonus and the tower boss time limit; those are noted where they matter.
The first 20 levels at a glance
| Player level | Unlock and build | Why now | Goal before moving on |
|---|---|---|---|
| 1 | Primitive Workbench, Stone Axe, Stone Pickaxe | Tools gather far faster than punching | A stack of wood, stone and Paldium Fragments |
| 2 | Palbox, Pal Sphere, Campfire, Wooden Chest, Repair Bench | The Palbox founds your base; spheres start capturing | Base placed, 3-5 Pals caught |
| 3 | Straw Pal Bed, Shoddy Bed, Old Bow and Arrow | Pals need beds; the bow lets you fight at range | Every worker has a bed |
| 4 | Feed Box | Hungry Pals work badly and lose sanity | Feed Box stocked with berries |
| 5 | Berry Plantation, Ranch, Normal Parachute | Food that grows itself; the parachute makes cliffs safe | Berry farm planted, Lamball or Chikipi at the Ranch |
| 6-7 | Pal Gear Workbench, Foxparks's Harness, Logging Site, Stone Pit | Wood and stone start coming in without you | Base produces wood and stone on its own |
| 8-9 | Crusher, Statue of Power, Hot Spring | The Crusher (run by a Watering Pal) turns stone into Paldium Fragments; the Statue raises capture power | First Lifmunk Effigies offered |
| 10 | Primitive Furnace, Egg Incubator (Ancient Technology) | Ingots unlock metal gear; eggs from the field can hatch | First ingots smelted, first tower boss attempted |
| 11-12 | Metal Pickaxe and Axe, High Quality Workbench, Grappling Gun (Ancient Technology) | Better tools and climbing | Metal tools equipped |
| 14-15 | Mega Sphere, Sphere Workbench, Nitewing Saddle, Wheat Plantation, Mill | Higher-level captures and an early flying mount | Second base placed, Nitewing riding |
| 17-19 | Cooking Pot, Breeding Farm (Ancient Technology) | Cake for breeding, cooked food for buffs | First breeding pair set up |
You gain more Technology points than you need for this route, but not enough for everything. Skip furniture sets and decorative items until the base runs itself. Activating each Great Eagle Statue (the fast-travel points) also gives one Technology point, so touch every one you pass.
Day one, step by step
-
1
Gather by hand, then make tools
Punch a few trees and rocks, build the Primitive Workbench and craft the stone axe and pickaxe. Mining stone sometimes gives Paldium Fragments, and you can find them on the ground and in Paldium deposits; every Pal Sphere needs them.
-
2
Reach level 2 and place the Palbox
The Palbox creates your base, stores your Pals and is a fast-travel point. Read the next section before placing it, because you will only have one base for a while.
-
3
Catch your first workers
Weaken a Pal, then throw a sphere. Catch several species, not several of one, because each new species gives a capture bonus.
-
4
Feed and house them
Build Straw Pal Beds and a Feed Box, then fill the box with berries. Pals without food or rest lose sanity and work less.
-
5
Let the base work while you explore
With a Logging Site, Stone Pit and Berry Plantation running, you return to full chests. Use that time to capture, find Great Eagle Statues and clear easy Alpha Pals for Ancient Technology Points.
Where to put your first base
The base is a cylinder about 35 m in radius around the Palbox, and the Palbox cannot be placed on ground steeper than 15 degrees. You can have only one base until the base itself reaches level 8, so the first spot matters more than it looks.
| What to look for | Why it matters |
|---|---|
| Flat, open ground | Room for the Palbox, beds, farms and work stations without terraforming around rocks |
| Trees and stone close by | You gather by hand for the first levels, so short walks add up |
| Near your starting area | Low-level Pals spawn nearby, so you can restock workers quickly |
| Not on a cliff or slope | Pals path badly on slopes and can get stuck, which looks like laziness |
| Room to grow | Later you add a Ranch, more plantations and a Breeding Farm |
Do not chase a "perfect" location from a video. Ore, coal and other rich spots come later, and your second base (from base level 8) is the one to put on top of ore. The first base just needs to be flat, safe and close.
For layout, such as keeping beds, the Feed Box and work stations close together, see the Base Building Guide.
Which early Pals to catch, and why
Work suitability is what decides a Pal's value at a base. The early game asks for eight kinds of work, and the Pals below cover all of them. All of these spawn in the low-level areas around the start (Windswept Hills and nearby).
Two Pals with the same work skill beat one "strong" Pal early. A base with three Handiwork Pals crafts spheres and tools while you are away. For the late-game workers that replace these (Anubis, for example), see the Automation Guide and the Strongest Pal Tier List.
Mounts in the first hours
Rushoar (saddle at level 6) is the first ground mount, Direhowl (level 9) is a faster one, Eikthyrdeer (level 12) adds a double jump, and Nitewing (saddle at level 15) is an early flying mount, which changes how fast you explore. Catch a Nitewing early and keep it until the saddle unlocks.
Capturing efficiently
- Lower the Pal's HP first. Capture odds rise as its HP falls. Status effects such as poison or freeze also help a little.
- The basic Pal Sphere is only good for low-level Pals. Before Mega Spheres (level 14), raise your Capture Power by offering Lifmunk Effigies at the Statue of Power (level 9). The green statues are scattered all over the map.
- Catch new species, not the same one again and again. Each species has a capture bonus. Since version 1.0 it completes after 5 captures (it used to be 12), so five of each new Pal is the efficient pattern.
- Lucky Pals are larger, sparkle and make a distinct sound. They have the Lucky passive (+15% Attack, +15% Defense, +20% Work Speed) and an extra active skill. Always catch one.
- Alpha Pals are the oversized field bosses. Defeating one for the first time gives Ancient Technology Points, which you need for the Egg Incubator and Grappling Gun.
The display under-reports your real chance a little, so a 50% shown is better than a coin flip. Still, keep a few spheres spare for each attempt.
Where to spend stat points
Each level gives stat points to spend on five stats. What each point adds, from the wiki's player data:
| Stat | Per point | Early value | Comment |
|---|---|---|---|
| Weight | +50 carry | Highest | Over-encumbered you crawl. More weight means fewer trips back to base |
| Stamina | +10 | High | Running, climbing, gliding and swimming all drain it |
| HP | +100 | Medium | Raise when tower bosses and Alpha Pals start one-shotting you |
| Work Speed | +50 | Low | Only affects work you do by hand; Pals do most of it |
| Attack | +2 | Low early | Small per point; better weapons raise damage far more |
Resetting stats needs Memory Wiping Medicine, crafted at advanced medicine workbenches from a large pile of materials. It is not something you will have in the early game, so treat early points as permanent. A practical split for the first 20 levels: mostly Weight and Stamina, a few into HP.
The first tower boss: Zoe and Grizzbolt
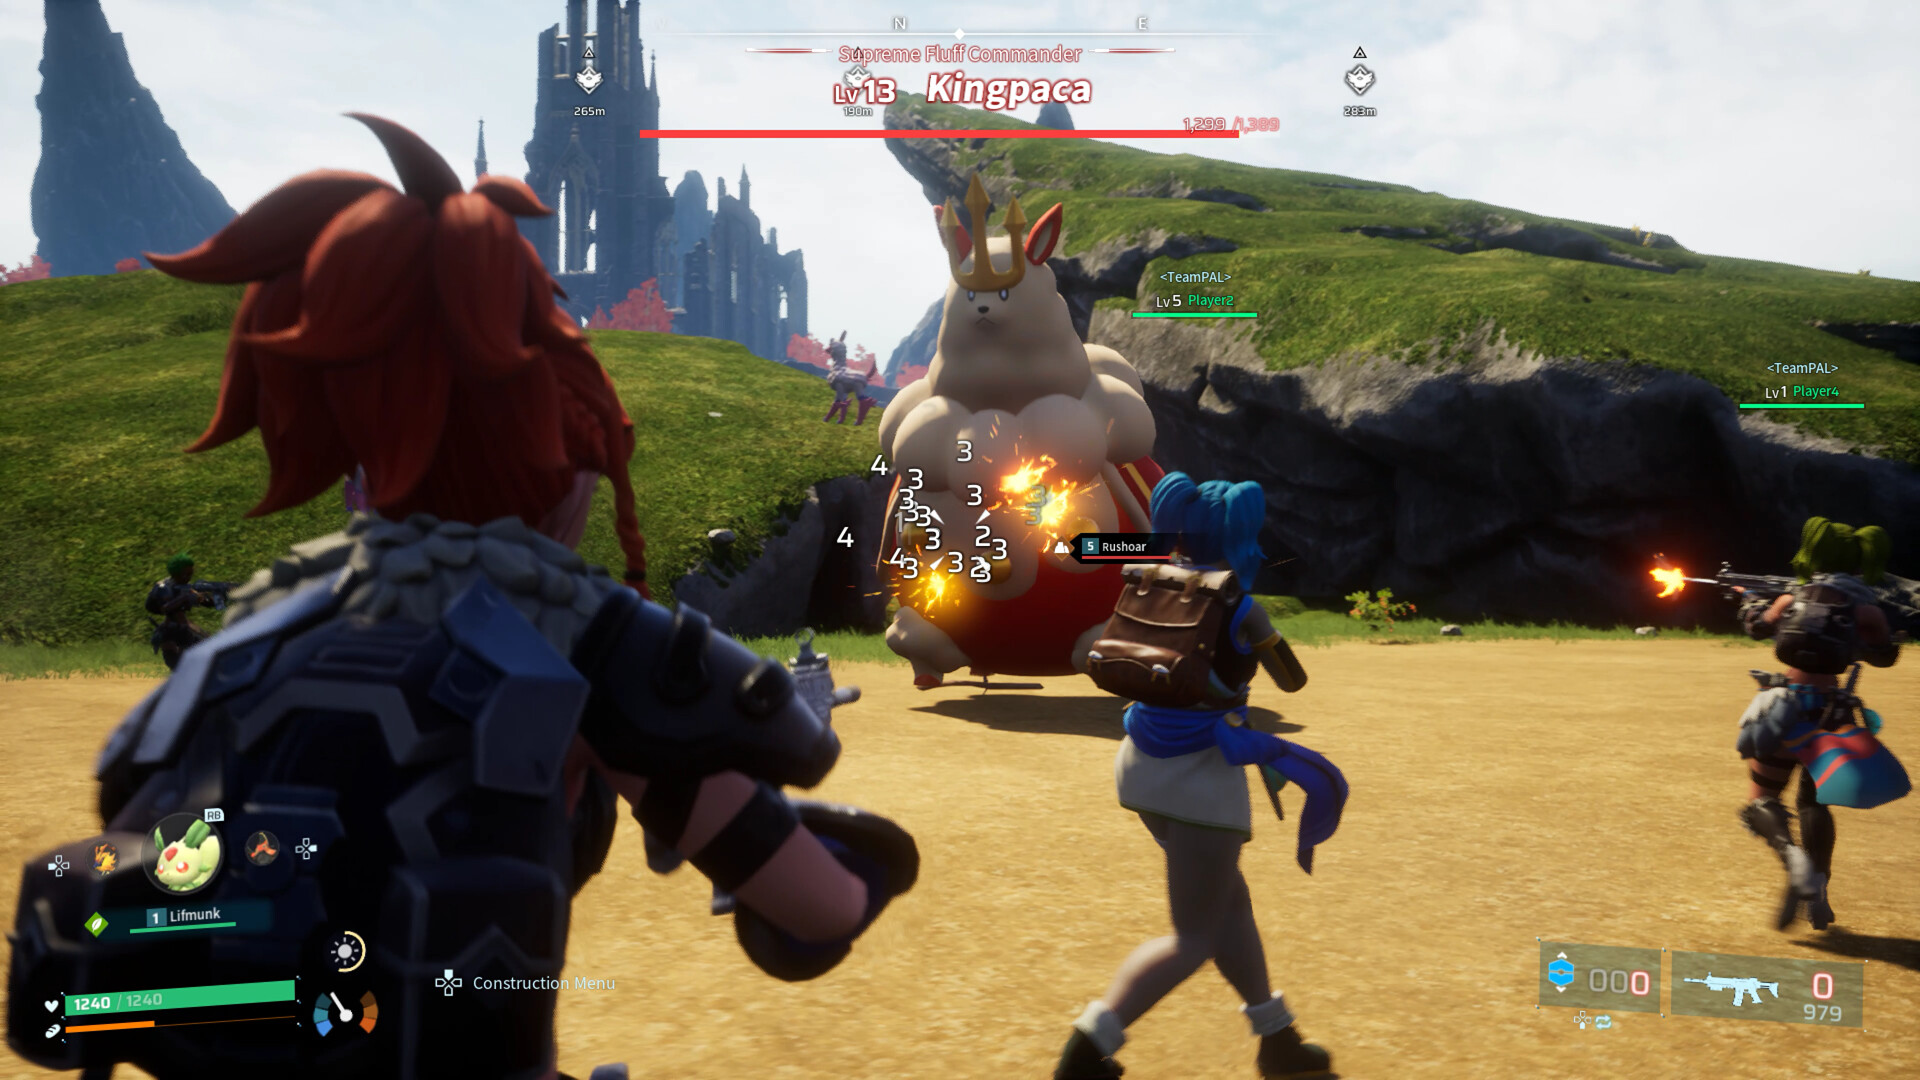
The Rayne Syndicate tower on Windswept Island holds Zoe and Grizzbolt, level 10 on Normal. Grizzbolt is Electric and uses mostly Electric attacks, so Ground-type Pals and attacks work best. Since version 1.0 the fight has a 5-minute time limit, with boss stats adjusted to match.
-
1
Arrive a few levels above 10
The boss is level 10; being level 13-15 with a bow and armor gives you room for mistakes.
-
2
Bring Ground-type Pals
Rushoar is the early Ground option. Swap Pals in when one gets low instead of letting it faint.
-
3
Bring healing and arrows
Cooked food and plenty of arrows. Teafant's healing partner skill is a safety net.
-
4
Stay mobile
Keep moving and dodge rather than trading hits. Stamina points pay off here.
Tower bosses also give Ancient Technology Points the first time you beat them.
Common early mistakes
| Mistake | What happens | Fix |
|---|---|---|
| Placing the base on a slope or cliff | Pals get stuck and work stops | Move the Palbox to flat ground early, before you build much |
| No Feed Box or beds | Pals get hungry, lose sanity and slow down | Feed Box (level 4) and one bed per Pal right away |
| Spending Technology on decorations | No points left for the Furnace or Mega Sphere | Follow the table above; decorate later |
| Catching ten of one species | You miss the capture bonus on new species | Five per species since 1.0, then move on |
| Ignoring Lifmunk Effigies | Pal Spheres fail on anything above low level | Pick them up while exploring and offer them at the Statue of Power |
| Random stat points | Weak exploration that you cannot undo for a long time | Weight and Stamina first |
| Skipping Alpha Pals | No Ancient Technology Points for the Egg Incubator and Grappling Gun | Clear the easy Alpha Pals near the start |
One rule that changed in version 1.0: on Normal difficulty you no longer drop your equipped items when you die, so early deaths are less costly than older guides say.
Where to go after level 20
Once the Breeding Farm is open, the game shifts from survival to optimisation. The Breeding Guide explains how the child species is decided and how to stack passive skills, and the Automation Guide covers the workers worth breeding for. If you are still deciding whether the game is for you, the Palworld review weighs the long-term loop.
★Honest Take: the first ten levels are the best part to understand
Palworld's early game is generous once you see its structure. The base-level missions are a better guide than most videos, and having a base that gathers while you explore makes the first evening feel productive. The weaknesses are real: the technology tree buries the important items among furniture, the game barely explains capture power or Ancient Technology Points, and Pal pathfinding still produces moments where a worker stands still for no visible reason. None of it blocks progress. Follow the missions, catch a spread of workers, and the first tower boss is a fair milestone rather than a wall.