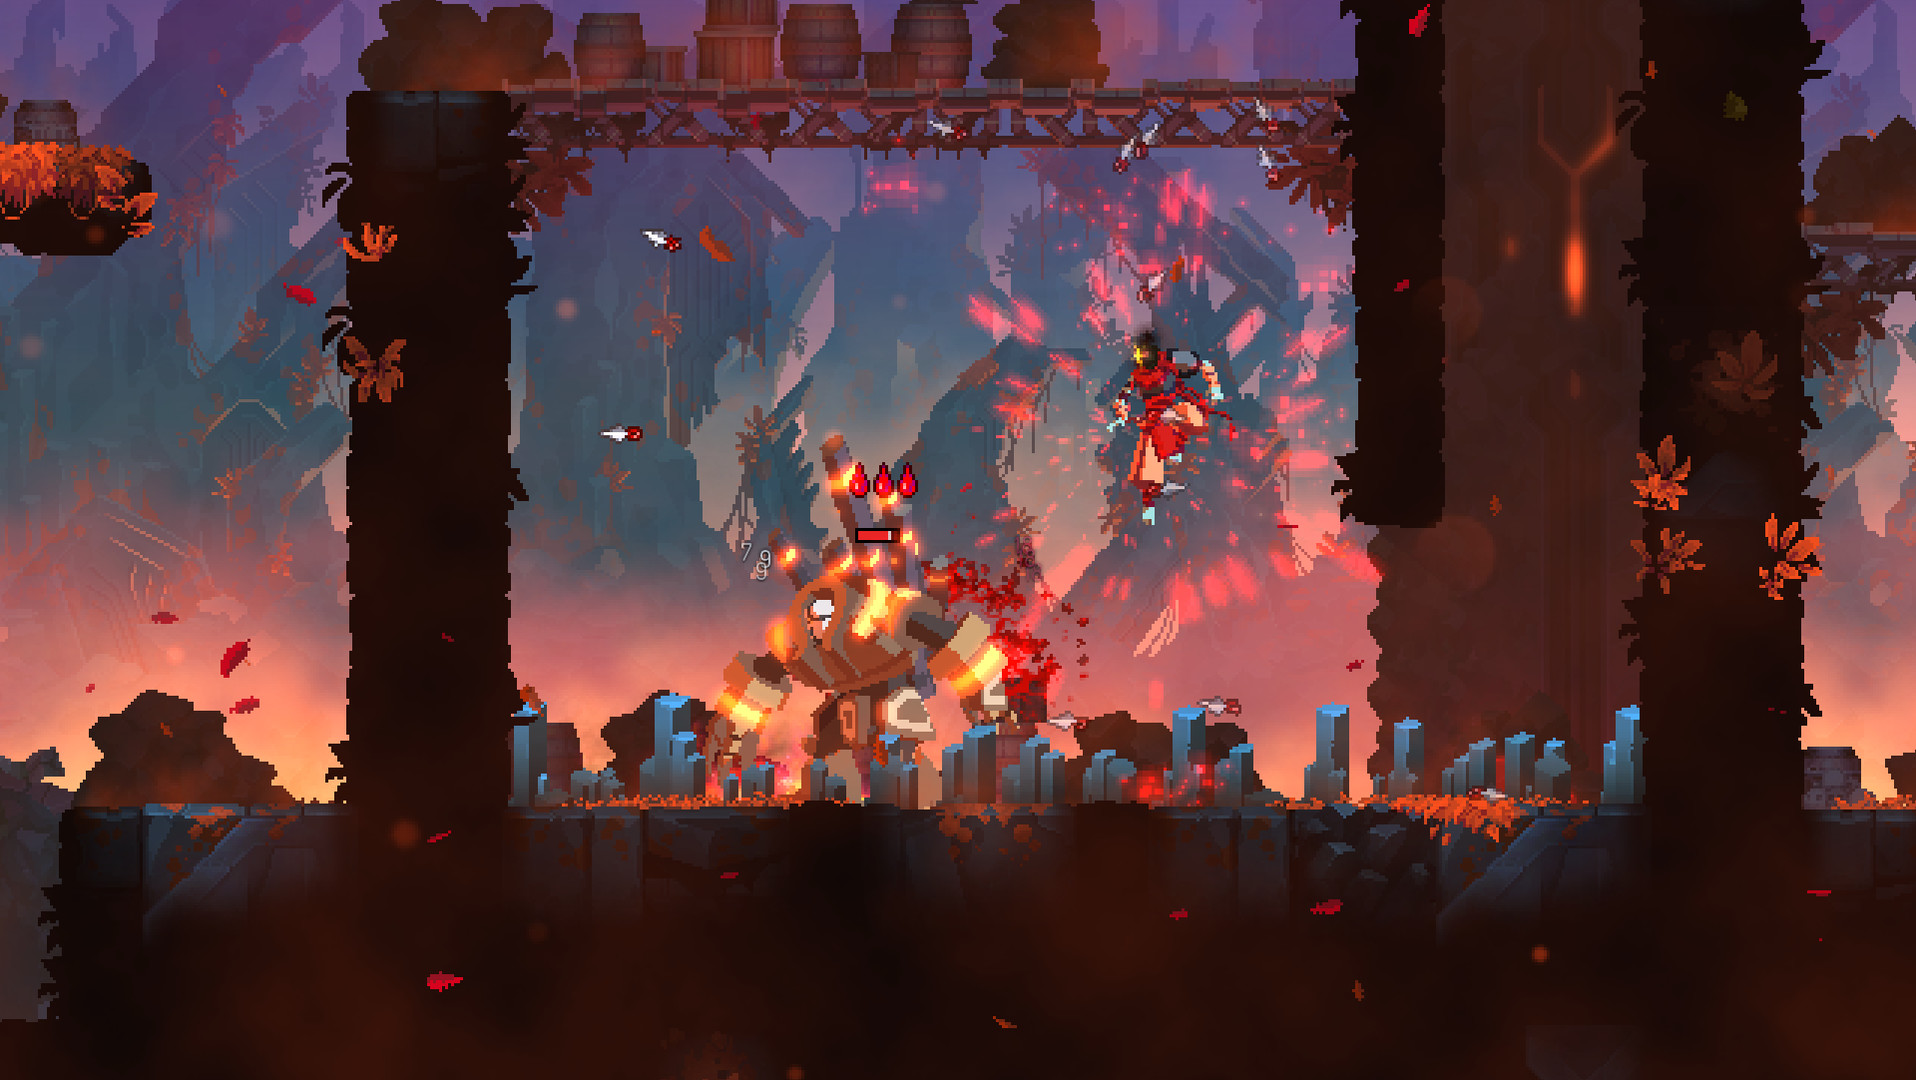
Take items whose crit condition you can trigger on demand: Nutcracker with Wolf Trap or Ice Bow, Sadist's Stiletto with any bleed or poison, Flint charged behind a Rampart. For mutations, Combo, Support, Heart of Ice and Necromancy are the safest picks in their colours. Rank everything by whether your other items switch its effect on, and check the colour before you pick it up.
Summary
The strongest Dead Cells items are the ones whose crit condition is easy to keep switched on: Nutcracker, Sadist's Stiletto and Flint top the melee list, and Wolf Trap, Ice Bow and Ice Shield rank high because they make other items crit.
This tier list ranks melee, ranged, shields, skills and mutations with colour and reasons, plus when lower tiers still win.
Who This Is For:Dead Cells players deciding which weapons, skills and mutations to pick up, unlock and keep during a run
Intermediate
Key Points
Key Points
1
A weapon's tier is mostly decided by how easily its crit condition is met. Nutcracker crits on stunned, frozen or rooted targets (155 base DPS, 386 on crits); one Wolf Trap keeps that on for seconds at a time.
2
Enablers rank as high as damage dealers: Wolf Trap (2 traps, 5-second root), Ice Bow (1.2-second freeze, 4 arrows) and Ice Shield (parry freezes nearby enemies) make other items crit.
3
Rampart blocks 85% of damage, the most of any shield, and a melee parry with it gives a 2-second force field.
4
Kill Rhythm only speeds up weapon charge for 2 seconds after a swap, not attack animations. It is a pick for charged weapons such as Flint, not a general damage mutation.
5
Several famous picks need DLC: Ferryman's Lantern (Fatal Falls), Death's Scythe (Return to Castlevania), Hand Hook and Bladed Tonfas (The Queen and the Sea).
Most Dead Cells tier lists rank weapons by raw damage. That misses how the game actually works: almost every weapon has a critical-hit condition, and a weapon that crits all the time beats a bigger weapon that rarely does. So this list ranks items by one question: how easily can you keep its effect switched on in a normal run? That is why skills and shields that enable crits rank as high as the weapons that deal them.
Every name, colour and number below was checked against the official wiki (deadcells.wiki.gg). "Base" values grow with your stats and gear level. Balance changes between updates, so each entry says why it ranks where it does; if a patch changes the mechanic, you can re-rank it yourself. For how to put these items together into a full build, see the Build Guide; this page is about the individual items.
The short answer: best pick in each slot
Slot
Top pick
Colour
Why it is on top
Melee
Nutcracker
Survival
Crits on stunned, frozen or rooted targets, which many skills and shields provide
Melee
Sadist's Stiletto
Tactics / Brutality
Crits on bleeding or poisoned targets; one bleed source keeps it critting
Ranged
Ice Bow
Survival / Tactics
Freezes for 1.2 s, turning on Nutcracker crits and Heart of Ice
Shield
Rampart
Survival
85% block, the highest; melee parries give a 2 s force field
Skill
Wolf Trap
Survival / Tactics
2 traps, 5 s root, and +34 base DPS on caught enemies
Mutation
Combo / Support / Heart of Ice
Brutality / Tactics / Survival
The most reliable damage or cooldown gain in each colour
Colour comes first. Each scroll point raises that colour's damage about 15% (compounded), and dual-colour items use your higher stat. An S-tier item in a colour you have not invested in is weaker than a B-tier item in your main colour. The maths is in the Build Guide.
Melee weapon tier list
Base DPS is shown as normal / on crit, from the wiki's weapon table.
S
Nutcracker — SurvivalCrits if the target is stunned, frozen or rooted: 155 base DPS becomes 386. Wolf Trap, Ice Bow, Ice Shield, Ice Grenade and Stun Grenade all switch it on, so it crits for most of a fight.Sadist's Stiletto — Tactics / BrutalityCrits on bleeding or poisoned targets (109 / 222 base DPS, about 2x per the wiki). Open Wounds, Throwing Knife, Hemorrhage or any poison source keep it on. Fits both Tactics and Brutality runs.Flint — Survival / BrutalityHold to charge: every charged hit crits (400 base crit DPS) and leaves a flaming trail that ignites oil. No setup needed. Unlocks for 20 cells from the Concierge's first kill.
A
Hayabusa Gauntlets — BrutalityCrits on targets below 40% HP with a fast 6-hit combo (124 / 243 base DPS). Great for finishing bosses and pairs with Instinct of the Master of Arms, but does nothing extra for the first 60% of a health bar.Giantkiller — Survival / BrutalityCrits on elites and bosses (127 / 465 base DPS). The best pure boss weapon; ordinary enemies get no bonus.Spite Sword — BrutalityCrits for 8 s after you take damage, or while cursed (144 / 255). Strong with Vengeance or cursed chests, but the blueprint drops at only 0.03%.Symmetrical Lance — SurvivalKill 2 enemies within 1.5 s with it and every hit crits for 6 s (192 / 288). Excellent in crowded rooms, weaker against a lone boss. Unlocked automatically by the Hand of the King's first kill.Ferryman's Lantern — Tactics / Brutality (Fatal Falls DLC)Kills store souls (max 7); firing more than 3 at once crits (107 base DPS, 429 with 4+ souls). Huge burst, but souls do not regenerate on their own.Death's Scythe — Survival (Return to Castlevania DLC)230 base DPS, and enemies it kills return as ghosts that explode for crit damage scaled to their max health. Snowballs in crowds; dropped by Death on the first kill.
B
Rapier — BrutalityCrits right after a roll or parry (156 / 356). Strong if you already roll and parry constantly; the crit is one hit, so damage drops when you stop.Meat Skewer — BrutalityThe first attack pierces and puts you behind the enemy; the next attack crits (181 / 281). Mobile, but it moves you through enemy groups whether you want it or not.Hand Hook / Bladed Tonfas — Brutality (Queen and the Sea DLC)Hand Hook crits when the thrown enemy hits a wall or another entity; Bladed Tonfas crit for the next combo if the opening leap connects. Strong, but both depend on positioning, and a missed Tonfa leap loses the crits.Balanced Blade / Broadsword — Brutality / SurvivalReliable fallbacks: Balanced Blade gains up to +90% damage and crits after 10 hits in a row; Broadsword's second and third hits always crit. No setup, lower ceiling.
Ranged weapon tier list
S
Ice Bow — Survival / TacticsLow damage (46 base DPS, cannot crit), but each hit freezes for 1.2 s and slows for 1.05 s after the thaw. Its value is making your melee weapon and Heart of Ice work. 4 arrows; 20 cells from Undead Archers.Electric Whip — TacticsIgnores shields, auto-targets, splashes part of its damage onto nearby enemies and adds 25 shock DPS for 3 s. Counts as ranged for Tactics mutations. Rarely the wrong pick in a Tactics run.
A
Quick Bow — TacticsCrits on targets with 3 or more arrows stuck in them (75 / 203). Fires fast enough to keep that true, and every stuck arrow also feeds Barbed Tips.Hemorrhage / Throwing Knife — Tactics / BrutalityRanged bleed: Hemorrhage bleeds for 25 DPS for 3 s and crits on bleeding targets; Throwing Knife bleeds for 22 DPS for 3 s and auto-targets. Both switch on Sadist's Stiletto from range.The Boy's Axe — Survival / TacticsRoots the victim and deals 80 damage when recalled. A root source that doubles as damage, so it turns on Nutcracker and Heart of Ice.Fire Blast — Tactics / BrutalityBurns enemies and the ground, and crits when oil is present (169 / 223). The core of an oil-and-fire setup.
B
Marksman's Bow — TacticsCrits at long range (58 base DPS, 349 on crits). Huge numbers, but you need distance that many rooms and bosses do not give you.Heavy Crossbow — Survival / TacticsShort-range volley; the next shot crits (280 / 338). Strong close up, and a natural partner for Kill Rhythm. Per the wiki it does not trigger Heart of Ice, because the root ends before its bolts land.Alchemic Carbine — TacticsOnly 9 base DPS of its own; it exists to poison (13 DPS for 4 s). Good as a poison applicator for the Stiletto, weak as a main weapon.
Shield tier list
A shield is the second-slot pick that most improves boss fights; see the Boss Guide for which attacks can be parried. Most shields absorb 75% of blocked damage.
S
Rampart — SurvivalAbsorbs 85%, the most of any shield, and a successful melee parry creates a 2 s force field. The wiki notes it counters multi-hit combos from Slashers and Rampagers.Ice Shield — SurvivalA parry freezes nearby enemies for 2 s, and reflected projectiles freeze what they hit. Turns every parry into a Nutcracker crit window. Cheap: 20 cells, 10% drop from Shieldbearers.
A
Punishment — SurvivalBlocked attacks deal area damage to nearby enemies; a parry makes it crit. The wiki lists Blind Faith and Instinct of the Master of Arms as synergies.Thunder Shield — Survival / TacticsOnly 50% absorption, but blocking deals 32 electric DPS in front of you for 8 s, all around you after a parry. Counts as ranged, so Support, Tranquility and Point Blank apply.Front Line Shield — Survival / Brutality+50% melee damage for 6 s after a parry. The shield for a Brutality run that wants one.
B
Parry Shield — Survival / TacticsAbsorbs 0% and cannot be held up; it returns projectiles and grenades with 4 extra projectiles. Strong against ranged enemies, useless as a block.Force Shield — Survival15% absorption plus a slowly regenerating force field while held. Safer for players who block late, but it gives up the parry payoff of the shields above.
Skill tier list
S
Wolf Trap — Survival / Tactics (14 s)Throws 2 traps that root for 5 s and add 34 base DPS to caught enemies. The root switches on Nutcracker, Heart of Ice and rooted-target affixes. It is a deployed trap, so Support counts it. Weaker against bosses, which shrug off control faster.Tornado — Tactics (18 s)A 10-second whirlwind dealing 100 base DPS in 0.1 s ticks; it bounces off walls and destroys solid projectiles. The fast ticks apply weapon status effects quickly.Phaser — Tactics / Brutality (2 s)Teleports you behind an enemy with +70 base damage on the next attack. The wiki calls it a near-infinite pairing with Heart of Ice, and it solves backstab positioning.
A
Ice Grenade — Survival (18 s)Freezes enemies for 6 s. A frozen enemy thaws when it is damaged again, so it suits fast weapons or ranged follow-ups better than slow heavy hits.Death Orb — Survival (20 s)A slow orb that hits for 50 base every 0.18 s (125 base DPS) for up to 15 s. Tagged as ranged; best in narrow rooms or on rooted enemies.Lacerating Aura — Tactics / Brutality (12 s)77 base DPS around you for 3.7 s, one of the fastest-ticking items in the game. Clears flying enemies; unlocked from the fifth Daily Run completion.Heavy Turret / Double Crossb-o-matic — Tactics (10 s)The two turrets for a Support build. Heavy Turret adds +15% damage for you near it; the Crossb-o-matic shoots 2 enemies at once.Corrupted Power — Tactics / Brutality (16 s)+50% damage for 8 s, but +30% damage taken. Per the wiki it does not boost bleed or poison, so it suits burst weapons, not DoT builds.
B
Stun Grenade / Root Grenade — Survival (12 s / 16 s)4.5 s stun, or a root with 50 DPS for 4 s. Solid control when you have no Wolf Trap.Knife Dance — Tactics / Brutality (16 s)A ring of knives that bleed for 40 DPS for 4 s. Good bleed setup for the Stiletto, but the cooldown is long for one effect.Vampirism — Survival / Brutality (30 s)Heals 2% of your HP per melee hit and gives a speed boost for 10 s. Healing that rewards aggression, on a long cooldown.
Mutation tier list
You hold up to three mutations, one more per biome cleared. Most scale with their colour's stat, so an off-colour mutation stays near its base value.
S
Combo — BrutalityEach consecutive hit adds +2% damage (plus 0.1% per Brutality point). Resets after 2.5 s without a hit or when you take damage. The default pick for any fast melee weapon.Support — Tactics+35% base damage within 9 tiles of a deployed trap or turret. Unlocked by default. Only traps and turrets count, and several do not stack.Heart of Ice — SurvivalHitting a frozen, stunned, rooted or slowed enemy at close range cuts skill cooldowns by 0.6 s at base (2 s max), at most once every 0.5 s. The engine of every control build.Necromancy — SurvivalHeals 0.3% of max HP per kill at base (3% max). Healing grows with the victim's max HP and shrinks as you near full health, so it heals most when you need it.
A
Open Wounds — BrutalityEvery melee hit bleeds for 18 base DPS for 1.5 s. Per the wiki it scales with the weapon's scroll count, not Brutality, so it works off-colour. Switches on Sadist's Stiletto.Killer Instinct / Hunter's Instinct — Brutality / TacticsSkill cooldowns drop per kill: 0.4 s base for melee kills, 0.3 s base for kills without melee. Hunter's Instinct does not count skill kills, so carry a ranged weapon.Instinct of the Master of Arms — colourlessEach crit cuts skill cooldowns by 0.08 s at base, up to 1 s, at most every 0.2 s. Parries count as crits. Unlocked by default; scales with your highest stat.Tranquility — Tactics+25% base damage when no enemy is near you. Free damage for bows and turrets that already keep distance.Vengeance — Brutality+60% base damage for 8 s and -30% damage taken for 3 s after you are hit. Pairs naturally with Spite Sword.
B
Kill Rhythm — Survival+15% base attack speed for 2 s after switching weapons, but per the wiki only weapon charge gets faster, not animations or cooldowns. Good with Flint, Toothpick and Heavy Crossbow; weak elsewhere.Berserker — SurvivalEach melee kill cuts damage taken by 5% at base (20% max) for 8 s, stacking to 90%, and gives stun immunity. Strong in crowds, does nothing in a one-on-one boss fight.Counterattack / Blind Faith — Survival+210 base damage after a parry, or 2.8 s base off skill cooldowns per parry. Core of parry builds, dead weight without a shield.No Mercy — colourlessExecutes regular enemies under 15% health; the effect is halved on bosses. A filler slot that saves time, not a damage engine.
What makes the top picks strong
Look at the S tiers and the same three properties keep appearing.
1. A crit condition your other items switch on. The wiki lists many crit conditions; the question is how often each one is true in a fight.
Weapon
Crit condition (per the wiki)
What turns it on
Uptime in practice
Nutcracker
Target stunned, frozen or rooted
Wolf Trap, Ice Bow, Ice Shield, Ice / Stun / Root Grenade, The Boy's Axe
High: almost always on
Sadist's Stiletto
Target bleeding or poisoned
Open Wounds, Throwing Knife, Hemorrhage, Knife Dance, poison
High: one source is enough
Flint
Charged attack
Nothing; hold the button (Kill Rhythm charges it faster)
High, if you can afford the charge time
Symmetrical Lance
2 kills within 1.5 s, then 6 s of crits
Crowded rooms
High in crowds, low on bosses
Giantkiller
Elite or boss
Nothing
Full on bosses, zero elsewhere
Hayabusa Gauntlets
Target below 40% HP
Nothing
Second half of every fight
Spite Sword
Hit in the last 8 s, or cursed
Taking damage, cursed chests
Risky: you pay in HP
Marksman's Bow
Long range
Room layout
Low in small rooms
2. Dual colours. Wolf Trap, Ice Bow, Sadist's Stiletto, Flint and Phaser all carry two colours, so they scale at full strength in two of the three run types. That flexibility is part of why they rank high: you can take them in more runs.
3. No damage requirement of their own. Ice Bow, Ice Shield and Wolf Trap deal little damage, but they make everything else crit. In a tier list that only counts DPS they look weak; in a run they are the reason the run works.
When choosing between two items in a shop, ask "what switches this on?" before "how much damage does it do?". A 386-DPS crit you can keep up beats a bigger number you trigger once a fight.
When lower-tier items are still the right pick
Your colour is set and the S-tier item is not. Five or six scrolls into Brutality, a B-tier Brutality weapon outdamages an off-colour S-tier one.
It completes a pair you already have. Alchemic Carbine is B-tier alone, but it is exactly what a Sadist's Stiletto in your other slot needs. Rank the pair, not the single item.
Boss-only items before a boss. Giantkiller is A-tier only because it does nothing to regular enemies. Picked up in the last biome before a boss, it is the best weapon you can carry into the fight.
Charged weapons with Kill Rhythm. Kill Rhythm is B-tier in general, but with Flint, the Toothpick or the Heavy Crossbow it does exactly what its numbers promise.
Learning parries. Force Shield is weaker than Rampart, but its force field forgives late blocks while you learn a boss.
A Legendary drop. Legendary items are colourless and scale with your highest stat, so a Legendary version of a B-tier weapon can outrank your current S-tier pick.
Common mistakes
Freezing for a slow weapon. A freeze ends when the frozen enemy takes damage, so one heavy hit thaws an Ice Grenade target. Pair heavy weapons with roots (Wolf Trap) or stuns instead.
Taking Kill Rhythm for attack speed. It only speeds up charging. With a fast dagger it does almost nothing.
Using Corrupted Power with a bleed or poison build. It does not amplify damage-over-time effects, and you still take +30% damage.
Carrying a Parry Shield to block. It absorbs 0% and cannot be held up. It is a projectile reflector, not a defensive shield.
Expecting Heavy Crossbow to trigger Heart of Ice. The wiki notes its bolts land after the root has ended.
Treating Support as stackable. Two turrets give the same +35% as one.
Picking up items because they rank high. Every pick should be in your colour and fit what your other slot switches on.
Related guides
How to combine these items into complete bleed, fire, turret, control and parry builds is in the Build Guide. Which upgrades to unlock first is in the Beginner Guide, and which boss attacks a shield can parry is in the Boss Guide. For what changes at higher Boss Stem Cell levels, see the Progression Guide, and for the overall verdict, the Honest Review.
★Honest Take: the item design is excellent, the item text is not
Dead Cells has one of the best item pools in the genre because almost every weapon asks a question ("is the target frozen?", "is it bleeding?", "are you behind it?") that another item can answer. Once that clicks, a shop stops being a list of numbers and becomes a puzzle, and the S-tier items are simply the most dependable answers.
The weakness is that the game explains very little of it. Kill Rhythm's description says "attack speed", but per the wiki it only affects charging. Nothing tells you that damage ends a freeze or that Corrupted Power ignores bleed. Many players drop Ice Bow because its damage looks tiny, never noticing it was making their other weapon crit. Read the crit condition first, and the tiers above stop being a list to memorise.
FAQ
FAQ
There is no single best weapon, but the most reliable are those whose crit condition is easy to trigger. Nutcracker (Survival) crits on any stunned, frozen or rooted target, Sadist's Stiletto (Tactics/Brutality) crits on any bleeding or poisoned target, and Flint (Survival/Brutality) crits on every charged hit. All three are available without DLC; Flint unlocks for 20 cells after your first Concierge kill.
Within each colour: Combo for Brutality (+2% damage per consecutive hit at base), Support for Tactics (+35% base damage within 9 tiles of a deployed trap or turret), Heart of Ice for Survival (hitting a frozen, stunned, rooted or slowed enemy at close range cuts skill cooldowns), and Necromancy for healing on kills. Instinct of the Master of Arms is the best colourless pick for crit-heavy builds because each crit shortens your skill cooldowns.
According to the official wiki, switching weapons raises attack speed by 15% at base for 2 seconds or until your next attack. The bonus only speeds up weapon charge, not animation lock or cooldown, and it does not stack. That makes it good with charged weapons like Flint or the Toothpick and with two-handed weapons such as the Heavy Crossbow, but weak with fast weapons that never charge.
It is a strong Tactics/Brutality weapon from the Fatal Falls DLC. Each kill stores a soul (up to 7), the last hit of its combo takes a soul from bosses, and firing more than 3 souls at once makes them crit. Its catch is that souls do not regenerate on their own, so it is best in rooms with plenty of enemies. It unlocks for 100 cells, but the blueprint drops from Apostates at only 0.4%.
Rampart for safety: it blocks 85% of damage, the most of any shield, and a successful melee parry gives a 2-second force field. Ice Shield is the best for control builds, because a parry freezes nearby enemies for 2 seconds and sets up crits for Nutcracker-style weapons. It is also cheap to unlock: 20 cells, dropped by Shieldbearers at 10%.
Not automatically. Several strong items need DLC, such as Ferryman's Lantern, Death's Scythe, Hand Hook and Bladed Tonfas, but the top-tier base-game picks (Nutcracker, Sadist's Stiletto, Flint, Wolf Trap, Ice Bow, Rampart) are just as good. A DLC weapon in the wrong colour for your scrolls is weaker than a base-game weapon in the right one.
Our editorial policy is honest, no-spin reviews. We separate facts from opinion and back every rating with reasoning.
View Editorial Policy